
I attended the Omnivore festival in Paris last week, a fabulous three-day event during which inspiring chefs climb up on stage to demo dishes and talk about their cuisine, and the sentiment that was expressed by several of them mirrors my own: we are currently going through the toughest time of year for the produce-oriented cook.
It no longer feels like winter, and certainly we’ve had our share of cold-weather vegetables, but spring is not quite there, and the bounty it promises has yet to be delivered. We are stuck in this limbo of non-season, having to make do with what’s left of the winter months — which isn’t actually very much — as we dream of pea shoots and strawberries.
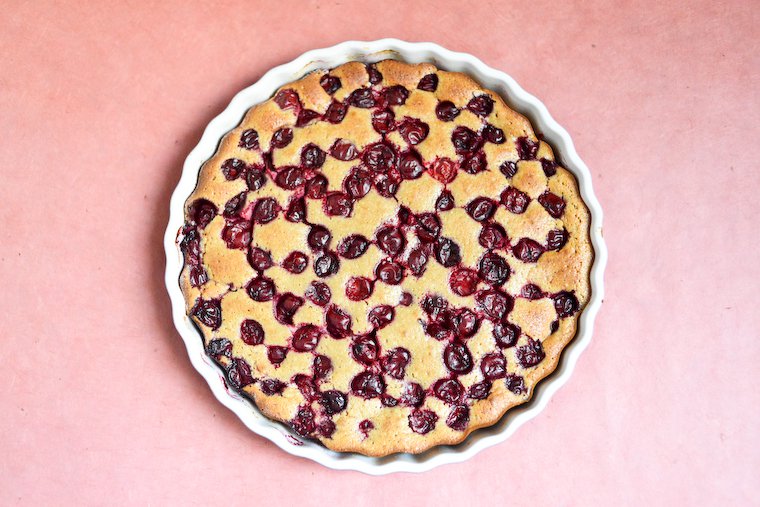
Recently, this limbo of non-season has made me pine for — of all things — cherry clafoutis.
Fruit is especially hard. The apples and pears are all from storage, and the citrus is a wan version of itself — all pith and little flavor — so we’re mostly left with exotic or frozen fruit.
Recently, this state of affair has made me pine for cherry clafoutis, and more specifically this clafoutis, which I’ve had bookmarked for seven years, ever since it was first published. I planned to make it with frozen sour cherries, which can be easily procured from the all-frozen-foods grocery store the French love so.
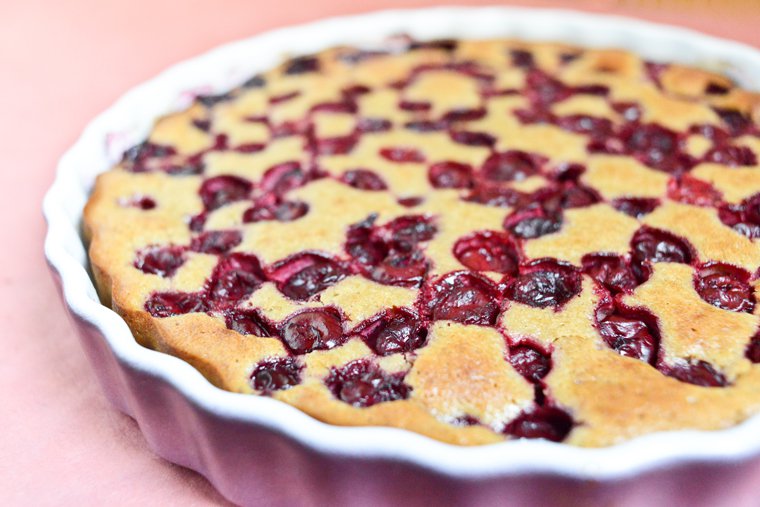
It is a slightly unorthodox clafoutis, in that the egg whites are whipped to create a mouthfeel that is moist and fluffy, rather than the more classic, flan-like texture. It is delicious.
Instead of using regular wheat flour, I chose to make my clafoutis with the chestnut flour I brought back from Corsica. I intuited that it would go well with the flavor of the cherries, much like hazelnut flour flattered them in this loaf cake; I am happy to report my intuition was spot-on.
As for the cherry pits, it is up to you to keep them in or out: tradition leaves the cherries unpitted — supposedly this adds a hint of almond flavor — but having to maneuver the pits around your mouth can be a severe hindrance to your enjoyment, and certainly if you’re serving this to young children, the pits need to go. (The frozen sour cherries I used are already pitted, so that was that.)
Join the conversation!
Are you experiencing the same lull in seasons where you live? How do you deal with it? And do you ever make clafoutis ?


