I’d been living in California for a few months and thoroughly enjoying the dotcom vibe of my workplace when the big news was announced: we were going to have a company barbecue.
This, to me, was what working in the Silicon Valley at the turn of the century was all about: a lot of fun ideas to make employees happy (water guns! foosball table! free pizza on Fridays!) and therefore more inclined to put in the hours and brain juice that would help the company grow (until it didn’t, but that’s another story).
A cobbler, someone explained, is someone who mends shoes. This didn’t make much sense to me, so I gently inquired: okay, but, um, why? My American-born coworkers conferred for a while, spoon in mid-air, brow furrowed, until they had to admit no one had a reasonable explanation.
And so, on barbecue day, everyone pitched in — some set up the burger assembly station, others grilled the burger patties (and veggie substitutes, this was California after all), others yet plopped scoops of salad (potato or pasta salad, I mean) onto plates, or rounded up anyone still hiding out in his cube — before sitting down on the sunny deck at the back of our offices to dig in.
A few people had volunteered to bring dessert, and among them, someone (Barbara, from client ops) had baked a peach cobbler.
While people oohed and aahed, I asked: what’s a cobbler? A cobbler, someone explained, is someone who mends shoes (un cordonnier in French). This didn’t make much sense to me, so I gently inquired: okay, but, um, why? My American-born coworkers conferred for a while, spoon in mid-air and brow furrowed, until they had to admit no one had a reasonable explanation.
No matter: we all know where the proof of the pudding is, and this one was very good indeed.
A cobbler is one of those all-American desserts with funny names — together with the brown betty, the buckle, the grunt, the slump, and the pandowdy — in which seasonal fruit is topped with some sort of dough, and then cooked or baked.
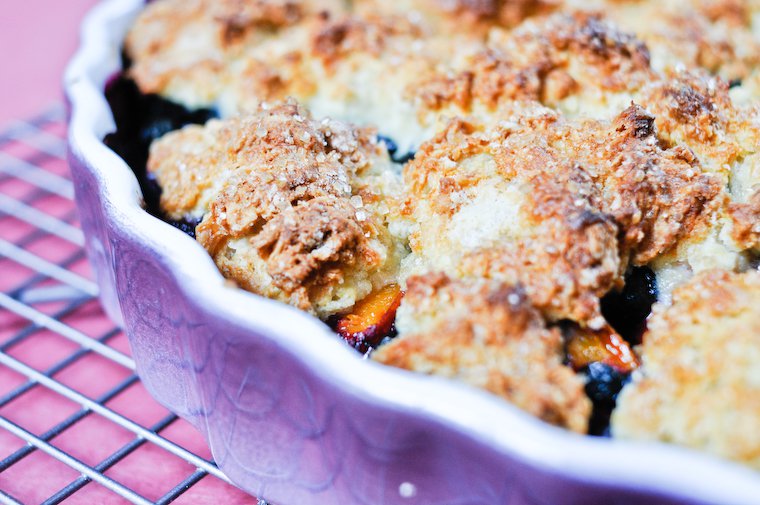
In the case of the cobbler, the topping is a sugar-dusted biscuit dough that is strewn across the fruit, either in rough hand-torn pieces, as I like to do, or in neat rounds, if you prefer (though I suspect it only looks that way if you use the ready-made biscuit dough sold in canisters at the grocery store).
The cobbler is a nice change of pace from the crumble or the crisp, in that it offers a wider range of textures: the dough becomes browned and crisp at the top, remains tender like the insides of a scone in the middle, and melds with the juicy fruit at the bottom.
Because I was first introduced to the cobbler by way of Barbara’s, it remains iconically linked to peaches in my mind. But really, any ripe fruit can be used, and I particularly like the apricot and blueberry version I baked last week when friends came over for dinner.
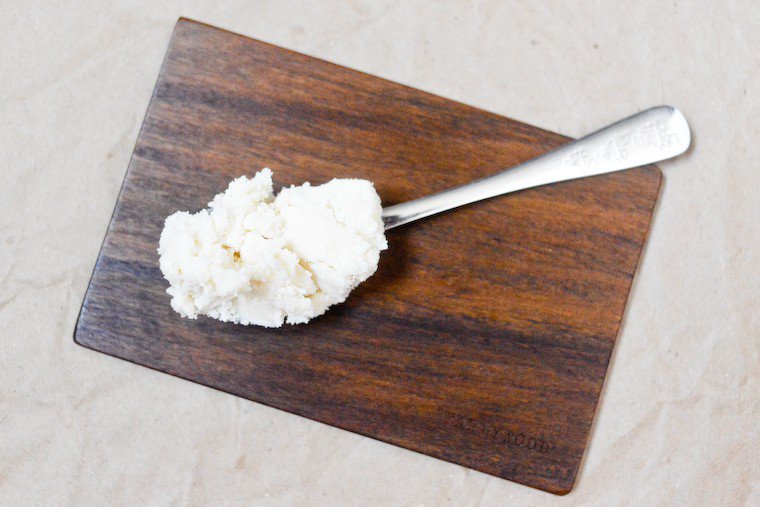
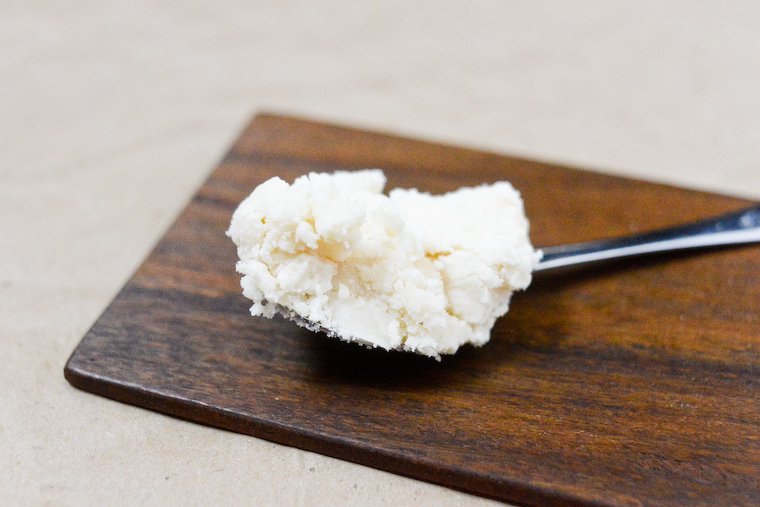
I use almond flour in my cobbler dough for a smoother mouthfeel, and when I make it for stone fruit, I like to flavor it with a prudent splash of orange blossom water. It is often recommended to serve the cobbler with vanilla ice cream, but I am French and I like it better with crème fraîche: I think it does a better job at underlining the natural sweetness of the fruit.
If you’re still puzzled about the name, as I am, know that it may in fact be linked to the topping’s resemblance to the shape of cobblestones, or of cobbles, which are either rounded hills or lumps of coals. But the truth is nobody really knows — not even food history librarian Lynne Olver, who nonetheless offers quotes and references that speaks to the origins of the dish.
(And for more desserts in the cobbler family, see this rhubarb raspberry grunt and this brown butter spiced crisp.)
Continue reading »