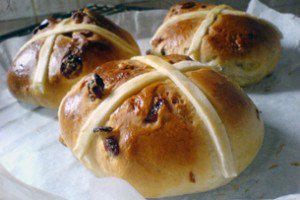
Huckleberry is a bakery and café in Santa Monica that is run by baker Zoe Nathan and her husband Josh Loeb. Although I’ve never had a chance to visit myself, I understand it’s a wildly popular place that has successfully disproven the nay-sayers who told Zoe Nathan that, “nobody eats bread and pastries anymore,” least of all in LA.
Earlier in the fall Zoe Nathan released her first book, published by Chronicle Books and also called Huckleberry, and after hearing her on the Good Food podcast I was very curious to see it.
It did not disappoint: it is a gorgeous book, with a sunny polka-dotted pattern printed on the edges of the pages that makes you want to place it backwards on your bookshelf, and Matt Armendariz’s delectable photography. Although the book was co-written by Zoe Nathan, her husband, and their long-time associate Laurel Almerinda, they have chosen Zoe Nathan’s voice to guide the reader through the book, in a day in the life format that starts at 3:30am (oy!) with “Muffins” and ends at 10am with “Coffee and other beverages”.
Nathan’s is an opinionated voice, too, one that does not mince words — considering the tone of Gabrielle Hamilton’s new Prune cookbook, could this be a trend? — and is pretty honest about the hard work and emotional roller coaster involved in running a successful bakery.
I’ve particularly enjoyed the general baking advice that she shares at the front of the book, and thought I’d share the five baking lessons that have stuck with me the most.
1. Color is flavor
Most bakers, myself included, are so afraid of burning things they usually take their baked goods out of the oven before they have reached the apex of their flavor.
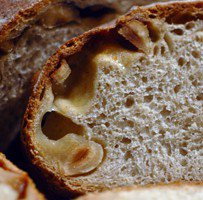
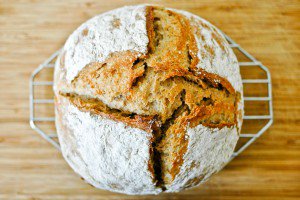
It’s perfectly understandable — who wants charred cake? — but the fact is, a tart crust is much crispier and tastier if it is allowed get to the brown side of golden; a crumble or cobbler (Nathan’s example) needs plenty of time for the fruit to completely collapse and soften; a naturally leavened baguette or sourdough loaf expresses its full complexity when it is darker than we think.
Zoe Nathan says we should “treat [color] as another ingredient to be measured” and encourages us to “flirt with disaster” and push the baking time just a little more than completely comfortable. And in truth, there is often a lot more time than we think between underbaked, just right, and overbaked.
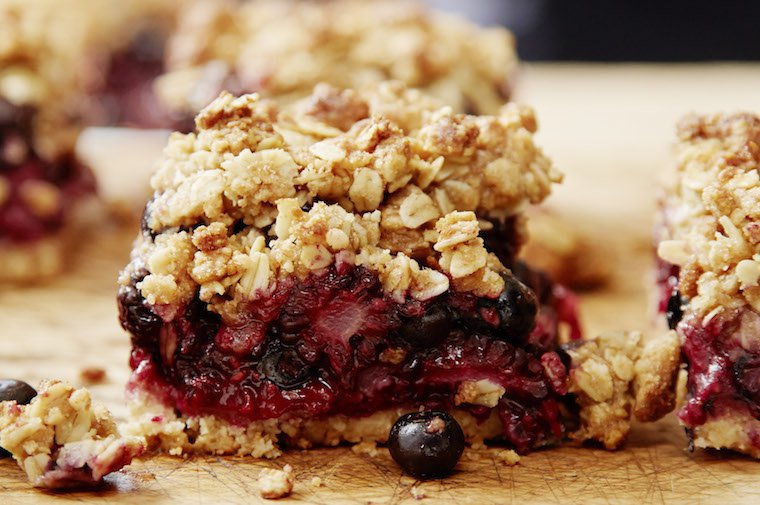
Black and Blue Oat Bars (photography by Matt Armendariz)
2. Use all your sense, and your intuition
Baking has a reputation of being an exact science, contrary to cooking, which is (supposedly) more open to interpretation and improvisation. Yet no recipe writer can predict how moist or ripe your fruit is, how your oven operates, and what the weather’s like where you live, and this is why a well-written recipe is one that gives you not just baking or resting times but sensory clues as well.
This means you should involve (and trust) your senses of touch, sight, smell, and your intuition to gauge whether this or that preparation needs a longer rising time, more kneading, more time in the oven, a hotter oven, etc. I personally feel this is very empowering, too: look, you’re learning how to fish!
3. Double the salt
Zoe Nathan recommends doubling the amount of salt that is called for in any baking recipe (not hers, presumably): she finds most bakers are too shy with salt, when it is in fact a key ingredient that enhances and reveals flavors like no other. I fully agree with her stance, but naturally you have to take the advice with a grain of salt (ha ha) and use your judgment: you woudn’t want to double the amount of salt in a recipe developed by someone who’s already on that same salty boat.
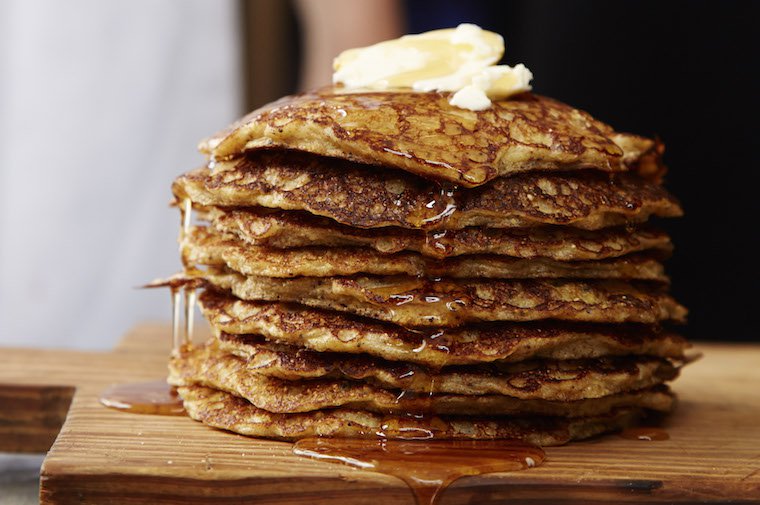
Brown Rice Quinoa Pancakes (photography by Matt Armendariz)
4. Brush off excess flour
Whenever you’re rolling out dough — such as for cookies, a tart of a pie — you’re going to use a fair amount of flour to dust your work surface and your rolling pin. What few recipes note, however, is that 1- you should use only as much as you need to maintain a good balance of ingredients in the dough, and 2- you’re supposed to brush off the excess flour before using: it’s not going to magically disappear, and that extra flour is just going to sit there awkwardly, tasting of raw flour.
Like Zoe Nathan, I keep a dry pastry brush around for just that purpose — and have another, silicone brush that I keep for wet uses, such as eggwash, oil, butter, etc.
5. Measure the night before
Every pro will tell you that mise en place is the foundation of their craft, and it’s easy to imagine that when your day starts at 3:30am, your baking will gain in efficiency and precision if you’ve prepped and measured your ingredients the day before, and if you want to be reaaaaally well-prepared, as Zoe Nathan notes, set out the tools and utensils you’ll need also.
In a home setting, even if your schedule is a bit less extreme, which I hope it is, fresh-baked breakfast treats will indeed be a smoother achievement if you heed that advice. And as a parent to a young child, I have found that no weekend baking will happen at all if I don’t divide it into ingredient prepping/measuring one day, and actual baking the next.
Bonus tip! The stealth check
This one is not so much a lesson as a fun, and potentially life-saving trick for frazzled bakers. If you’re unsure about a cake you’ve baked — maybe you got confused about ingredient amounts or think you may have forgotten to add an ingredient altogether — you can just rip a small piece out from the bottom of the cake as you unmold it. Let it cool, taste it, and you’ll know where you stand: if it is, after all, fine, no one will be the wiser about that missing piece.
PS: My favorite stone-ground chocolate and how to roast and skin hazelnuts.
~~~
Transparency note: I received a review copy of Huckleberry with no obligation to write about it, and cleared the necessary permissions to use Matt Armendariz’s photography in this post. All words and opinions are my own.
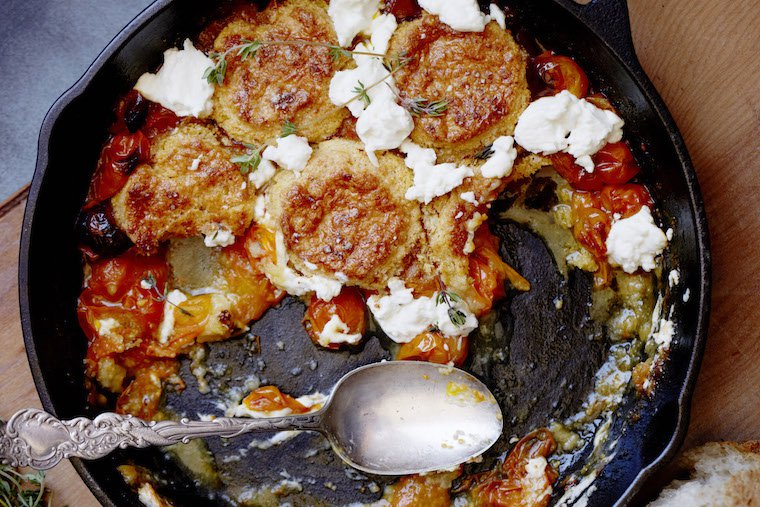
Cherry Tomato Goat Cheese Cobbler (photography by Matt Armendariz)


