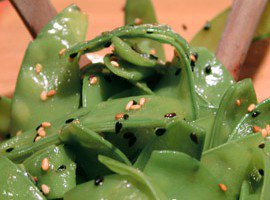
I grew up eating haricots verts steamed to army green softness and served warm, with a bit of butter and freshly chopped parsley, usually as a side to roast chicken for Sunday lunch. After coming home from the greenmarket — with or without me tagging along — my mother would call across the apartment, “Il y a des haricots verts à éplucher !” (There are green beans to trim!)
My father, my sister and I would then pop out of our respective bedrooms and office to gather on the floor around the coffee table where a tray awaited, with a big pile of untrimmed beans and a colander to collect them once trimmed. It was understood that us kids could be excused from this if we had a big test to study for, but we seldom used that Get Out of Jail Free card, welcoming instead the opportunity to take a break and chat as our fingers busied themselves.
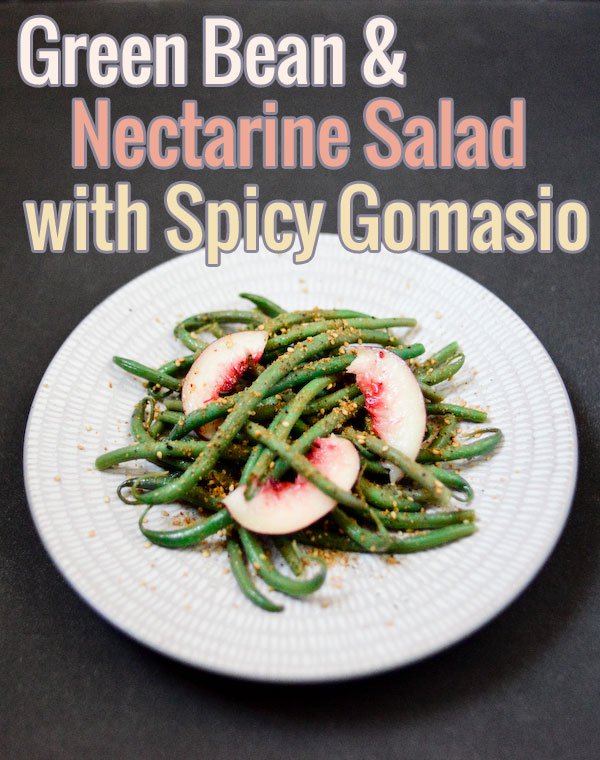
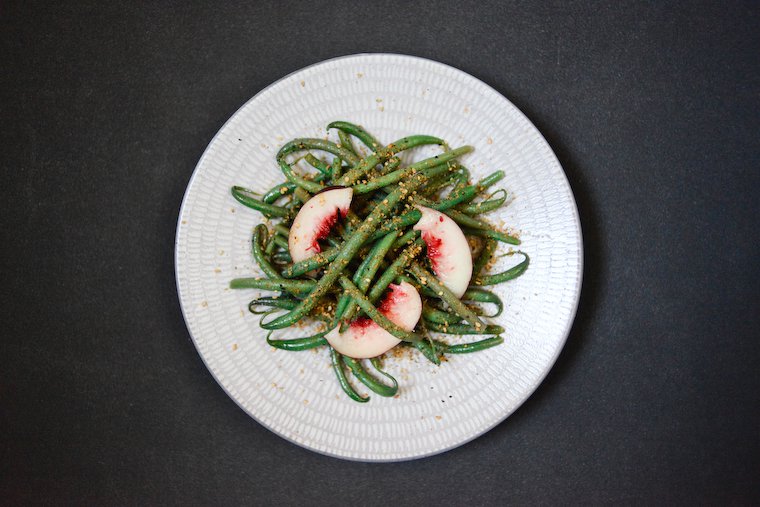
Green beans pair beautifully with summer fruit (“What grows together goes together”) and I love them topped with finely diced cantaloupe, or thinly sliced peaches and nectarines.
Looking back, I realize we could have cut down the workload in half by trimming the only end that actually needs trimming — that would be the stem end, the wispy tail is in fact harmless — but trimming both ends allowed us to thoroughly de-string the beans along each side, which counts for something.
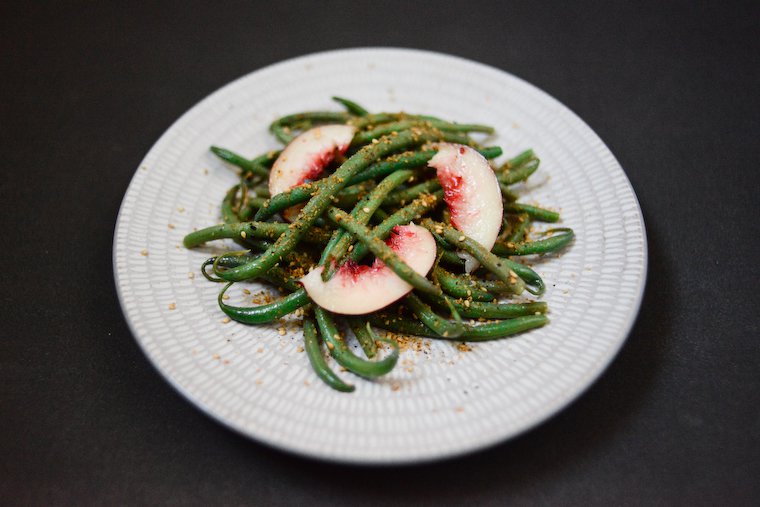
In my own kitchen I mostly find myself eating green beans cold, in zesty salads such as this one. Green beans pair beautifully with summer fruit (“What grows together goes together”), and I love them topped with finely diced cantaloupe (it’s been such a fabulous year for French melons!) or thinly sliced peaches and nectarines, which I’ve come to like best white.
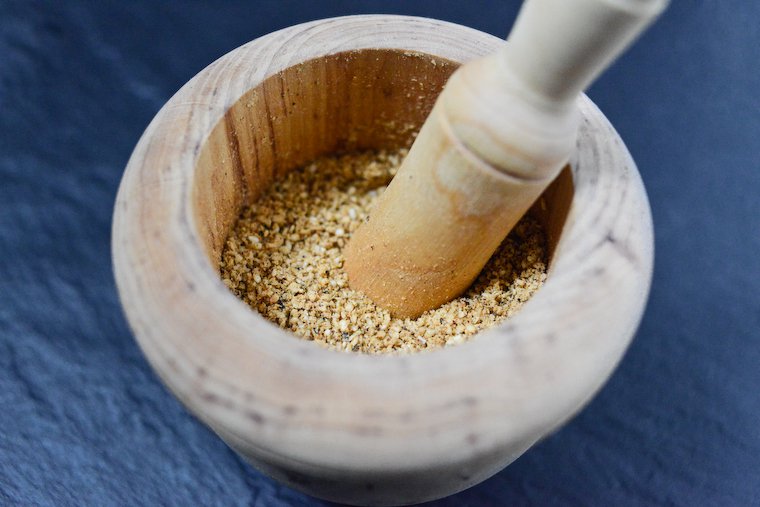
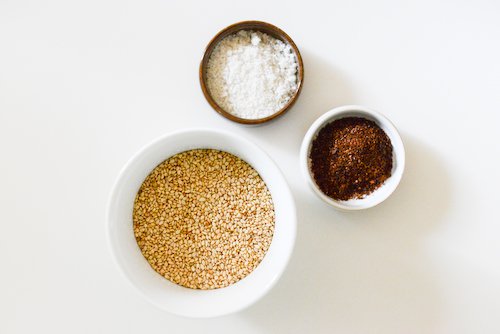
My salad had a “green” element and a “sweet” element, and to create a more complete balance of flavor with “nutty” and “savory” notes, I decided to throw together a batch of homemade gomasio — a Japanese condiment of toasted sesame ground with sea salt — to which I added ground chipotle pepper for an extra kick. It is very easy to make at home and incomparably more flavorful than anything you can buy at the store.
I made this salad with the stash of green beans I had put away in the freezer earlier this summer, when my vegetable basket had seemed too bountiful for us to handle in a week. Fresh green beans freeze easily and well, and if it looks like you won’t eat them very soon after purchasing, they’re better off in the freezer than going limp and yellow in the fridge. Just trim, rinse, dry thoroughly in a kitchen towel, and throw in the freezer in an airtight bag or container. They can then be cooked just like you would fresh ones — steamed or boiled or sautéed, as you prefer — with no thawing necessary.
The gomasio recipe below makes much more than you’ll need for this salad, but you’ll find yourself casting it in endless roles: you can use it pretty much anywhere you would use regular salt, and if you need to keep your sodium consumption low, it can help you boost the flavor of dishes without adding too much salt. I myself love it over a simple bowl of steamed short-grain rice and in onigiri, but also on soft-boiled eggs, in tomato salads, to dip fresh radishes in, sprinkled on any type of steamed greens, and on sliced apples.
Join the conversation!
What’s your favorite way to eat green beans? Have you every tasted gomasio, or even made your own? What do you like to use it on?

Have you tried this? Share your pics on Instagram!
Please tag your pictures with #cnzrecipes. I'll share my favorites!
Ingredients
- 450 grams (1 pound) slim green beans, fresh or frozen, trimmed; use French-style haricots verts if possible, but longer or thicker beans can be subsituted, sliced into shorter sections as needed
- 2 tablespoons olive oil
- 2 teaspoons lemon juice
- 1/4 teaspoon fine sea salt
- 3 medium ripe nectarines, about 140 grams (5 ounces) each, cut into slices
- Homemade Spicy Gomasio (see recipe below) or store-bought gomasio, to taste
Instructions
- Set up a steamer and steam the beans until the shade of al dente you like. I like them tender rather than squishy-firm, and it takes 8 minutes for slim haricots verts.
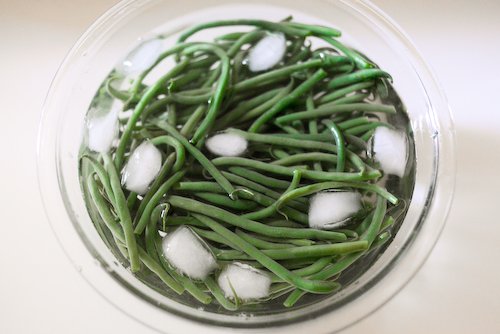
- Plunge in an ice bath immediately -- a simple salad bowl in which you've emptied an ice cube tray and poured cold water -- to preserve the consistency you've set your heart on, and prevents overcooking which would make the nice green color fade.
- Drain as soon as the beans are cold; if you leave them in too long, I find they become too waterlogged. Spread out on a kitchen towel to dry thoroughly.
- In a serving bowl, combine the olive oil, lemon juice, and salt. Add the beans, sprinkle generously with gomasio (though not the full recipe!), and toss to coat. Taste and adjust the seasoning.
- Fold the nectarine slices in gently, and serve.

Have you tried this? Share your pics on Instagram!
Please tag your pictures with #cnzrecipes. I'll share my favorites!
Ingredients
- 50 grams (1/3 cup) raw (untoasted) whole (unhulled) sesame seeds (see note)
- 5 grams (2 teaspoons) ground chili pepper (I used freshly ground chipotle)
- 10 grams (2 teaspoons) fine sea salt
Instructions
- Put the sesame seeds in a dry skillet over medium-low heat and toast until the seeds begin to dance and become fragrant, shaking the pan regularly for even toasting.
- Transfer the still-warm sesame to a mortar, add the chili pepper and salt, and grind with the pestle until you get a medium-ground texture: it should come together into a powder, but you should still make out some sesame seeds.
- Alternatively, you can use an electric spice grinder using short pulses to avoid overheating, but then you should let the sesame cool completely before grinding, and make sure to stop before the mixture is completely ground.
- Transfer to a jar, close the lid, and use within a month.

Notes
Sesame seeds go rancid easily, so double-check that the ones you use still taste fresh; best to buy them a small amount at a time from a store with a good turnover.
You could use pre-toasted sesame, but 1- I find store-bought toasted sesame is never as vibrant as freshly toasted, and 2- the sesame seeds warmed from the skillet are easier to grind in the mortar.
