I am not very big on what the French call arts de la table (literally, table arts), an umbrella term that covers the choice and placement of dinnerware, silverware, and glassware, as well as flower arrangements and any other table decorations.
Unless it’s a party and there’s very many of us, only cloth napkins will do.
I do appreciate a nicely laid table, and admire those hosts who devote time and energy to thinking up seasonal themes and handcrafting little trinkets to prettify each place setting (especially if it’s done resourcefully, with three pieces of string and zero budget), but my own style is definitely more minimalist.
Round white plates (from Crate & Barrel, dating back to our California days), simple wine glasses (we’ve been faithful to the C&S range for years), embossed forks we brought back from Japan, and rosewood-handled knives bought in Laguiole — all of this we arrange in five minutes on dark woven placemats set on our black wood and frosted glass table, and call it a day.
Paper or cloth napkins?
Well, not quite. There’s the question of napkins, too. Unless it’s a party and there’s very many of us, paper napkins (or worse, sheets of paper towel torn off from the roll) feel all wrong to me: they lack that warm touch that makes you feel at home, they’re too light to stay put on your lap, and half the guests end up bunching theirs up beyond recognition, and it looks like the table is strewn with used tissues.
So, no. When I’m a guest somewhere I’m happy with anything I’m given, so appreciative I am to be fed dinner, but in my own house, I insist on cloth napkins.
For years we used a nice set of gray linen napkins, but last summer I decided to sew a new set: I am an enthusiastic amateur seamstress — in fact, my interest in sewing predates my interest in cooking by a good twelve years* — and I am lucky enough to own a sewing machine, a pretty and compact little thing that once belonged to my grandmother.
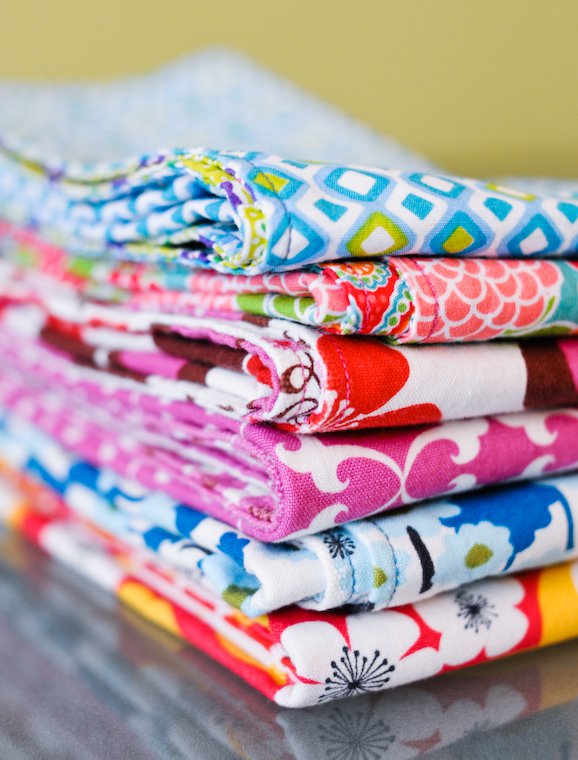
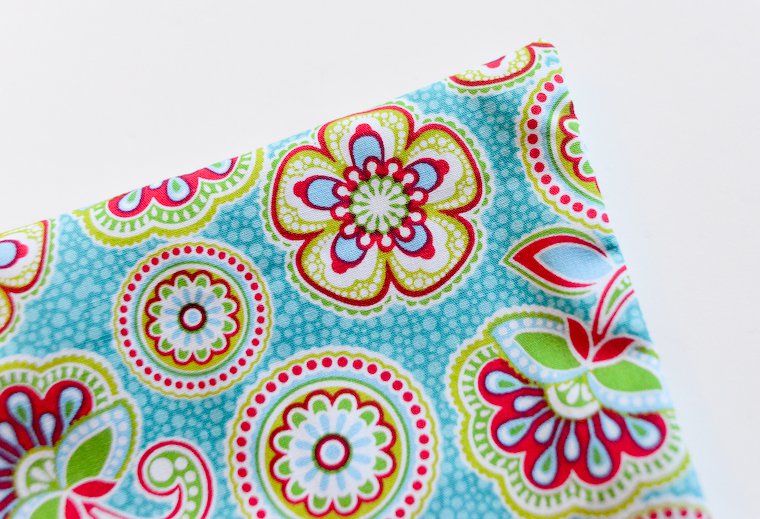
This napkin revolution was brought on by a tutorial I’d stumbled upon: it suggests creating a set of double-face napkins by assembling mismatched-but-harmonious pieces of fabric two by two.
I am lucky enough to own a sewing machine, a pretty and compact little thing that once belonged to my grandmother.
DIY Cloth Napkins: An Easy Project for Beginners
It is a very easy project that can be pulled off in an afternoon** — the only skills required are cutting fabric into squares and sewing in straight lines — and seven months later my heart still skips a beat when I consider my pile of colorful napkins.
Maxence and I use them daily, and because I made six, which happens to be my maximum number of guests for a sit-down dinner, we also use them when we have friends over, and they unfailingly earn me compliments.
For the choice of fabric, you could pick two different ones that you like and make six identical napkins, but it can be more fun to try and find twelve different fabrics*** in the same style, and have each napkin be its unique combo of two; prepare for people to fight over the one they like best, though.
In the US (and therefore on etsy.com), you can buy fabric in small rectangles called fat quarters and these are ideal for this project; in France, some fabric stores**** sell small squares of fabric (usually 45x45cm) primarily intended for quilting, and this format would work well here.
You Will Need
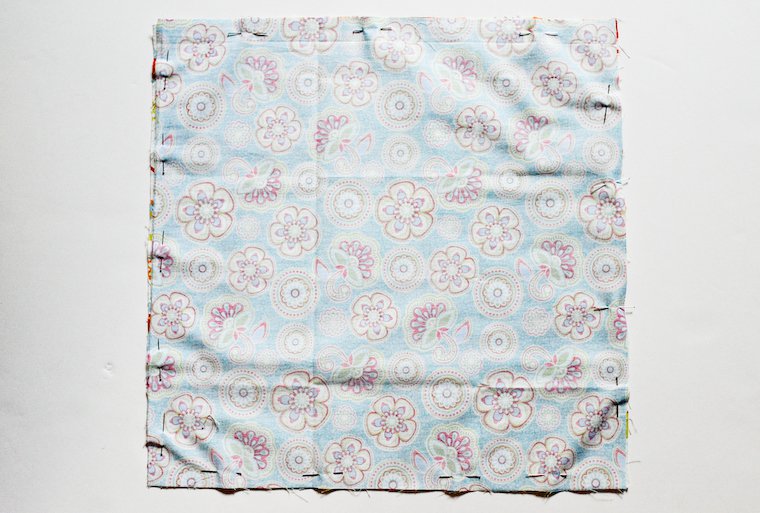
- 12 squares of matching fabric, about 45 x 45 cm (18 by 18 inches) for a regular napkin, 35 x 35 cm (14 by 14 inches) for a child-size napkin, pre-washed and pressed
- Matching thread
- A sewing machine
- Pins
- Scissors
- A chopstick
- An iron
Instructions for DIY Cloth Napkins
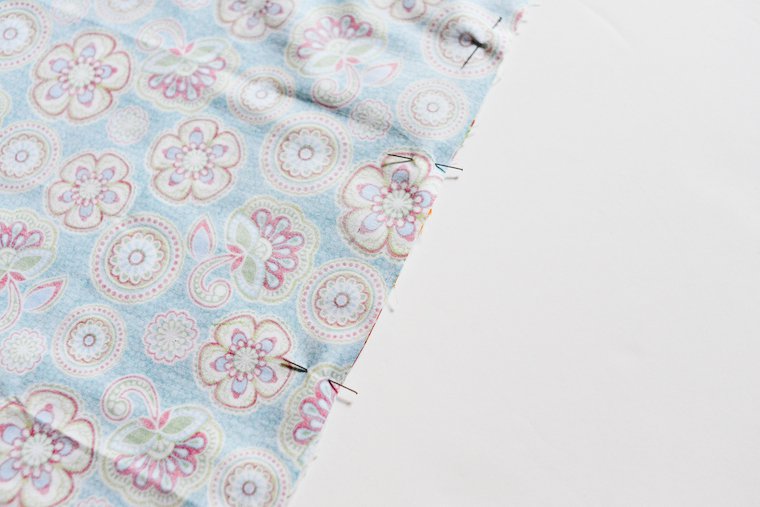
1. Stack the squares of fabric two by two, right sides together, and pin them together along the sides.
2. Mark an 8-cm (3-inch) opening on one side with two pins.
 .
.
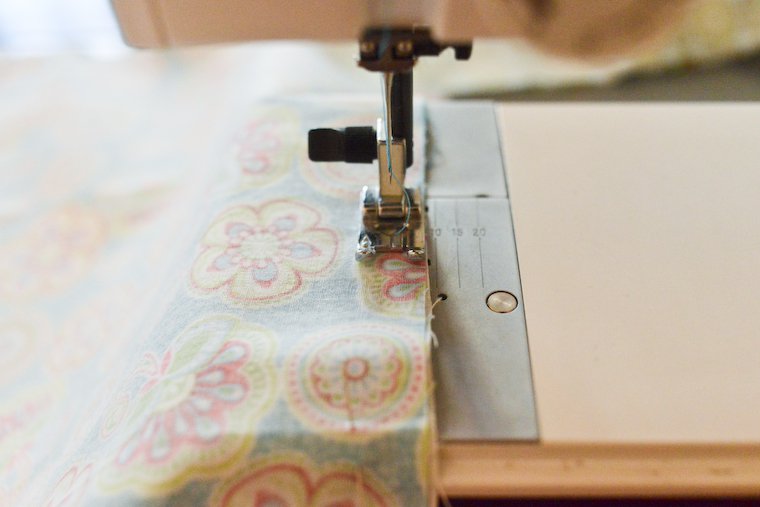
3. Starting from one end of the opening, sew the squares together with a 1-cm (1/3-inch) seam allowance, pivoting the needle as you turn each corner. Stop when you reach the other end of the opening, so it remains open.
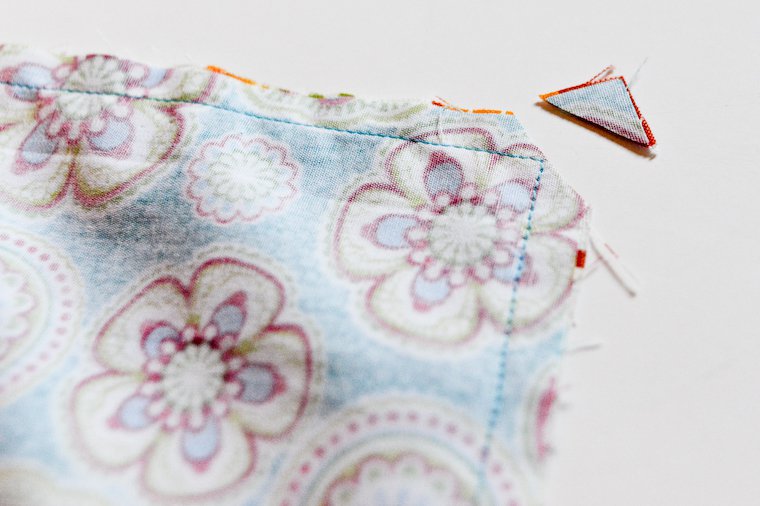
4. Clip the corners, making sure you don’t cut through the thread.
5. Turn the fabric out through the opening so the right sides face out. Push out the corners neatly using the chopstick.
6. Press the edges of the napkin so they lay nice and flat, folding back the lips of the opening so it becomes invisible.
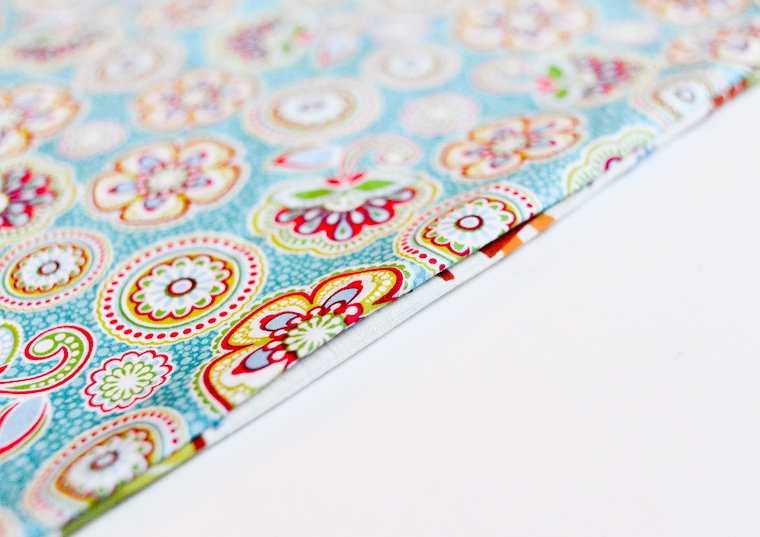
7. Topstitch along all four sides, about 3 mm (1/8 inch) from the edges, pivoting the needle as you turn each corner: this will serve the double purpose of making the edges of the napkins crisp, and sewing the openings shut.

~~~
* The apple doesn’t fall far from the tree: everything I know about sewing I learned from my mother, who now runs a sewing blog of her own (in French) and an exclusive hotline reserved for her youngest daughter’s questions.
** This tutorial is part of a collection of ten Sunday Afternoon Crafts Projects, and is authored by Maggie, the very same person whose blog introduced me to homemade natural deodorant.
*** My mother suggests I add here that you should be careful with fabrics that may bleed (i.e. their vivid dyes may stain other fabrics when washed) or shrink at different rates. Before starting any sewing project, it is safest to pre-wash all fabrics.
**** In Paris, the neighborhood to go to for your fabric needs is to the southeast of the Sacré-Coeur: Marché Saint-Pierre, Reine, and Moline have wide selections that run the gamut between ugly and pretty. There are other, smaller stores in the neighboring streets, but you usually have to dig around to find anything remotely wearable in those.