The story of these waffles begins with a photo that Sarah Britton, author of My New Roots, posted a few weeks ago, revealing that her revolutionary pancakes worked as waffles, too. Revolutionary pancakes? My ears perked up.
What’s revolutionary about Sarah’s pancakes is that she makes them from buckwheat and other whole, gluten-free grains that she soaks and blends with water to form a smooth batter. This is the best possible use of grains, foregoing pre-milled flours and essentially making your own. The soaked buckwheat becomes a little slimy — in the best of ways! — and this helps bind the batter.
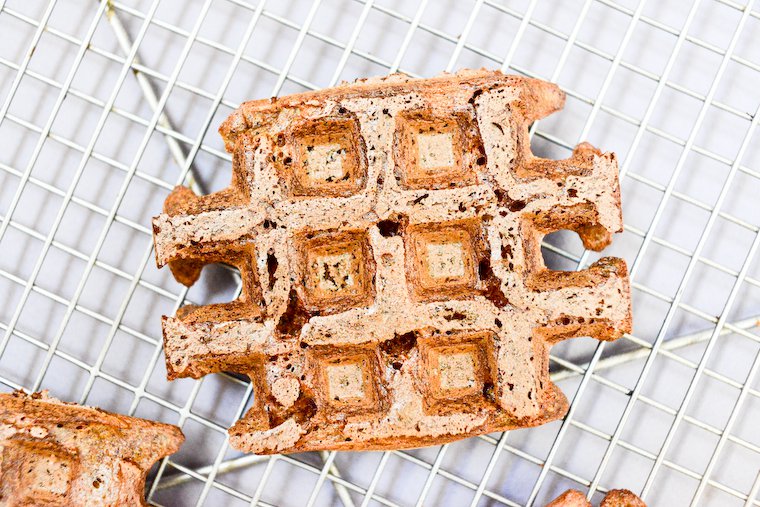
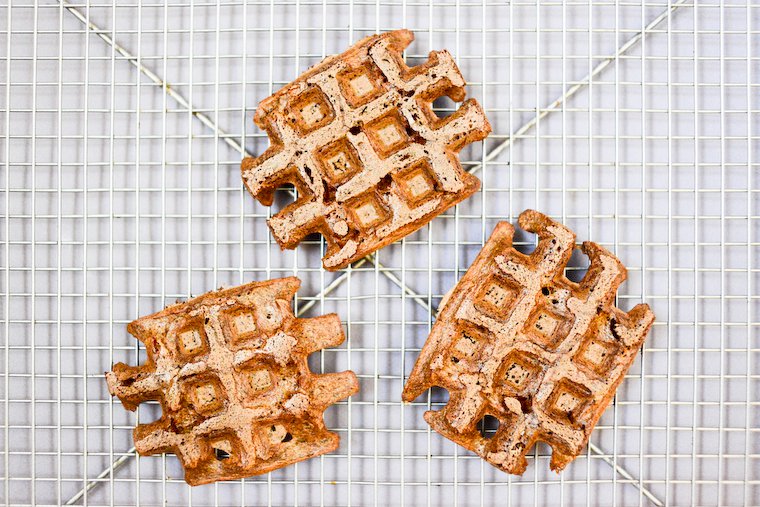
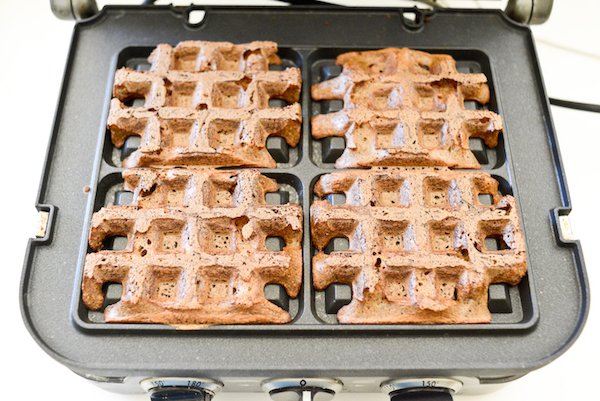
These flour-free waffles are crisp and tender, high in nutty buckwheat flavor, and not very sweet, which leaves ample room for your favorite toppings.
Not five minutes after reading her post, I had a batch of grains soaking on my counter. Unfortunately, I did not have much success with the pancakes. I found them too difficult to cook properly on the stove top: despite several attempts using different heat settings, I mostly ended up with pancakes that darkened too much on the outside while remaining undercooked on the inside.
I did love Sarah’s idea, though, and I adore buckwheat, so I decided to try again in waffle form.
While I was at it, I took the extra step to sprout the soaked grains for a day, for even more waffle nutrition. My original pancakes were also woefully undersweetened, so two ripe bananas went into that fresh batch, and I added a bit of salt as well, to delineate the flavors.
And after a few tries, I nailed the process that works for me: this includes allowing the batter to rest overnight in the refrigerator — the waffles hold up much better in the waffle iron then — and adding a bit of baking soda just before cooking, for a lighter texture.
It’s a very easy formula, too, which for once I recommend you follow by volume: for each measure of raw buckwheat groats, you’ll add another measure of gluten-free grains (I’ve tried rice and quinoa; teff, millet, amaranth would work as well), and use two measures of water to process into a batter.
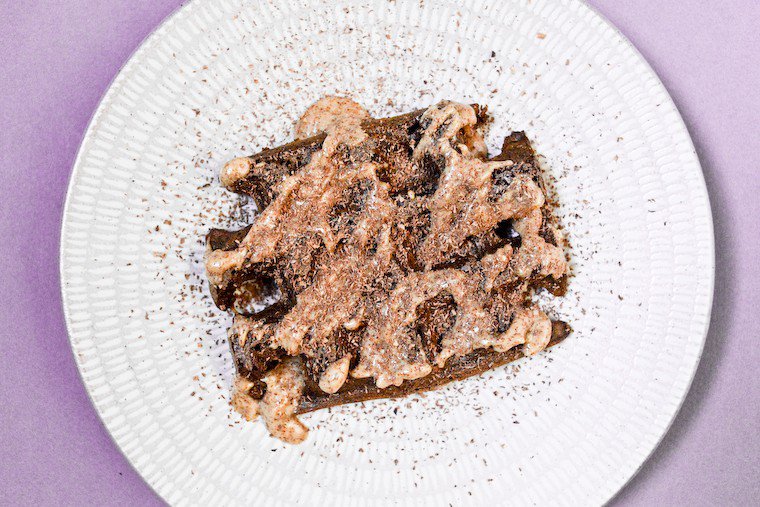
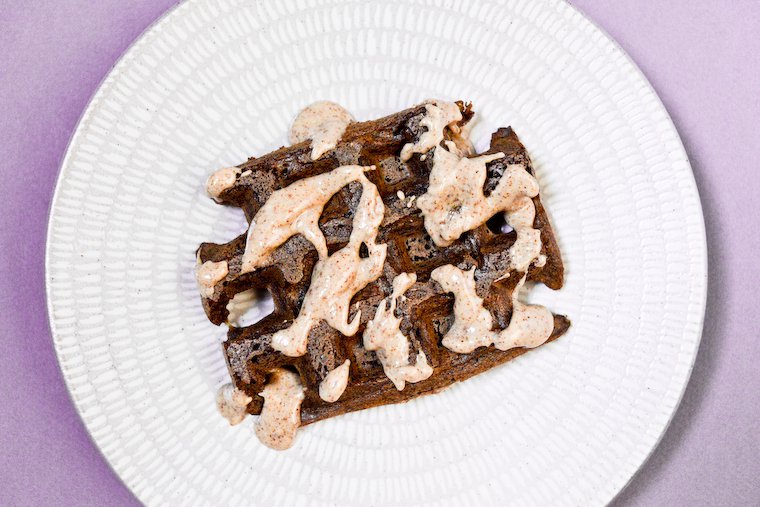
For all you buckwheat lovers, this is definitely a recipe to try: these flour-free waffles are crisp and tender, high in nutty buckwheat flavor, and not very sweet. We’ve had them plain and they’re excellent, but that moderate sweetness leaves ample room for your favorite toppings: I’ve tried a crêpe-style butter and sugar, I’ve tried raw honey, but my favorite combo is a drizzle of almond butter and a shower of grated chocolate (made using a Microplane).
They make for a lovely breakfast item — one that won’t give you a sugar crash two hours later — and they are toddler-approved at my house. You can make them ahead, too, and crisp them back up in the toaster for a quick afternoon snack.
I want to know!
Do you love buckwheat as much as I do? What’s your favorite use for this wonderful pseudo-grain? Will you give these unconventional waffles a try?
Want more fabulous waffle recipes?
Follow my waffle board on Pinterest!

Have you tried this? Share your pics on Instagram!
Please tag your pictures with #cnzrecipes. I'll share my favorites!
Ingredients
- 1/2 cup (90 grams) uncooked raw buckwheat (not kasha, which is toasted)
- 1/4 cup (50 grams) uncooked quinoa
- 1/4 cup (45 grams) uncooked rice
- 1 tablespoon lemon juice
- 2 medium bananas, ripe
- 1 teaspoon baking soda
- 1/2 teaspoon fine sea salt
Instructions
- Start three days before.
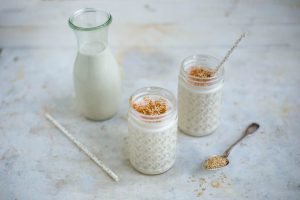
- Place the buckwheat, quinoa, and rice in a medium mixing bowl. Add the lemon juice and fresh water to cover by 3 cm (1 inch). Cover and allow to soak for 12 to 24 hours.
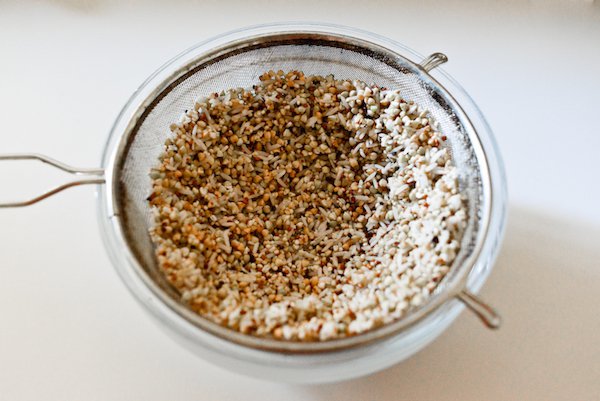
- Drain the grains and pseudo-grains, and rinse well in a fine-mesh colander.
- Set the colander over a bowl, and allow to sprout for 24 hours, stirring gently once or twice during that time so all the seeds get exposed to the light and air.
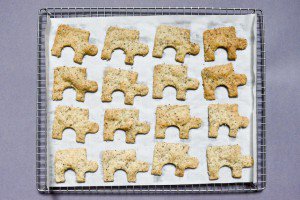
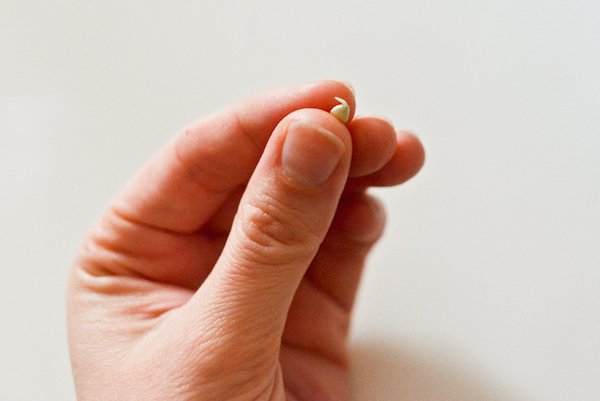
- After a day's sprouting, most of the seeds should have grown little tails.
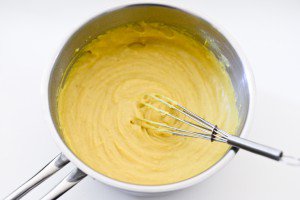
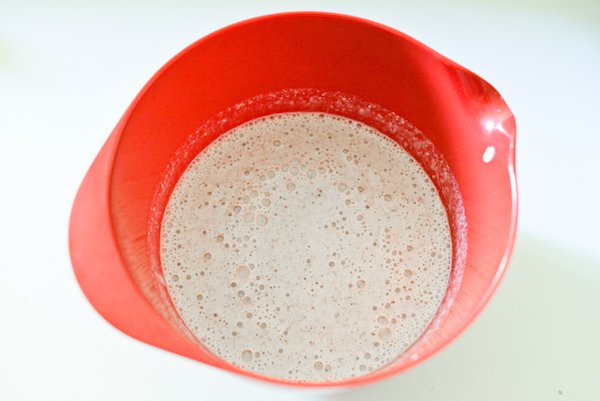
- Place the seeds in the mixing bowl with 1 cup (240 ml) water, the bananas, and the salt.
- Use an immersion blender to process until smooth and frothy. Alternatively, you can use a regular blender for this. Cover and refrigerate until the next day.
- Preheat your waffle iron.
- Whisk the baking soda thoroughly into the batter.
- Oil the waffle iron as needed, and ladle the batter onto the preheated iron, being careful not to overfill or the batter will overflow.
- Allow the waffles to cook until no steam escapes the iron -- it takes about 10 minutes using my beloved griddler. Avoid the temptation to open the iron too soon, or the waffles will split in two.
- Lift the waffles from the iron using tongs and serve, topped with butter and sugar, or with raw honey, or with almond butter and chocolate shavings.

Notes
If you have leftover waffles, keep them covered in the fridge until the next day, and reheat in the toaster. You can also freeze them.