Sometimes you come across a disruptive recipe and your life changes forever. This is one such recipe.
It was recommended to me by a reader named Saudia, from Oregon, who answered my call for recipe suggestions to use my brand-new Lodge pan, a US-made cast-iron skillet that goes elegantly from stove to oven. I’d been coveting one for a long time without ever having room in my luggage to bring it back from my travels, but early this summer, I finally found out it was available in Europe.
Saudia pointed me to the recipe Mark Bittman had published in the New York Times in 1997 (so, yeah, nothing new), and when I went on a search for images of the finished results, I stumbled upon this more recent post by my friend Adam, who had merged Bittman’s recipe with Amanda Hesser’s. I mostly followed the instructions outlined by Adam, with a few minor modifications.
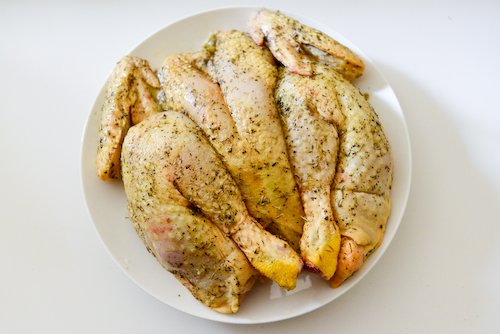
First, you spatchcock* your chicken, which sounds a lot more intimidating than it really is: all you need to do is cut the chicken on either side of the backbone — I use kitchen shears — then flip the chicken and press it down firmly so it lies flat. This allows the chicken to cook faster and more evenly. Here’s how you do it:
I’d done spatchcocking once before, inspired by an old Gwyneth Paltrow video, of all things, but the chicken had turned out pretty dry so I’d gone back to my standard recipes for whole chicken: Muriel’s chicken or, with a bit more time on my hands, salt-crusted chicken or chicken in a bread crust.
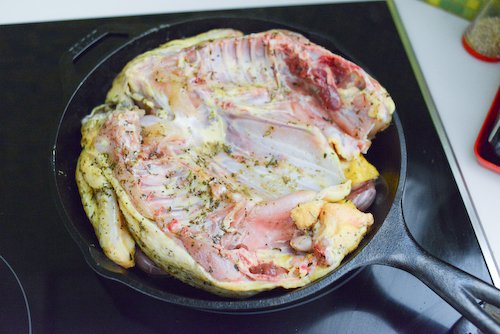
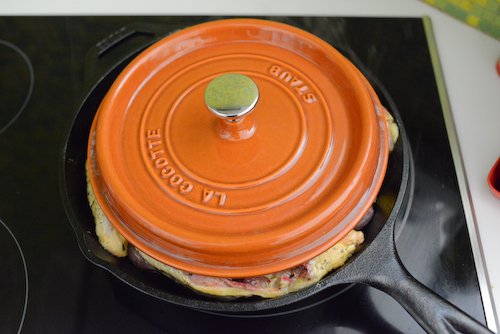
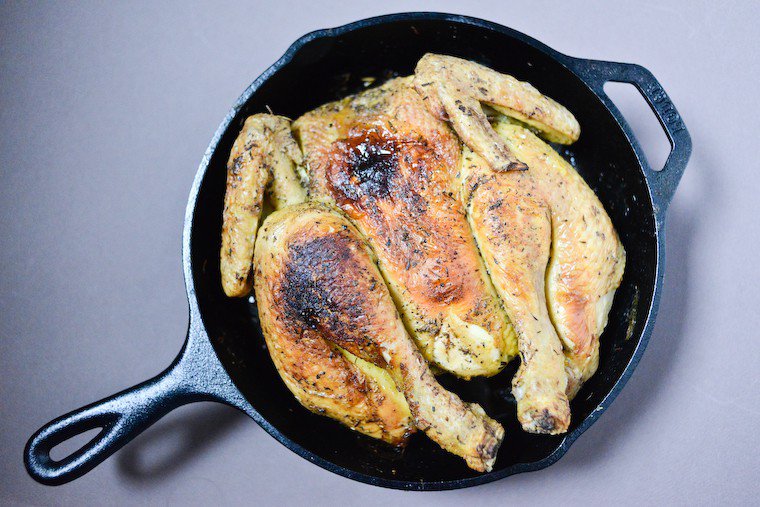
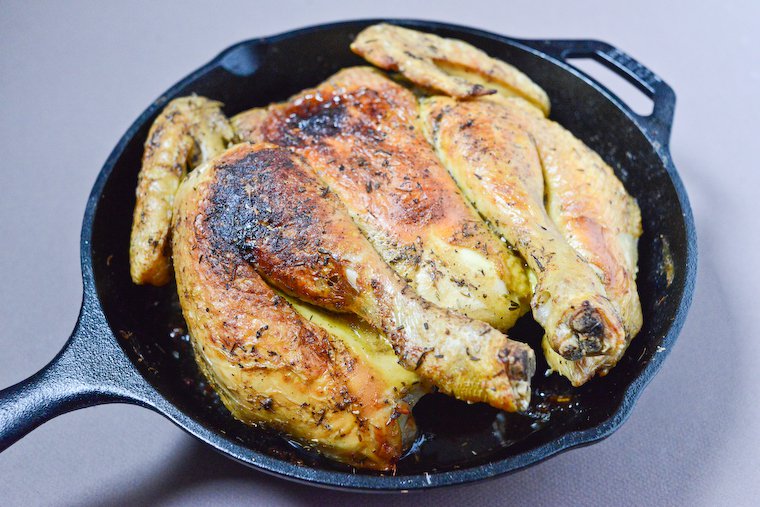
But this recipe introduces a clever trick: you start by placing the chicken, skin side down, in a hot and oiled skillet, and you use a weight of some kind — the traditional recipe uses a brick, hence the name of the recipe — to press it down into the pan so the skin will brown nicely. The whole thing is then transfered to a very hot oven, where the chicken will roast for 15 minutes with the weight still on, and 15 more minutes skin side up and weight off.
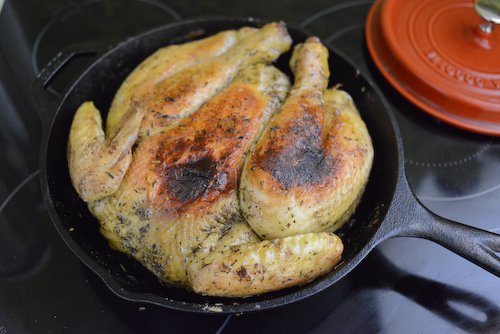
This creates a marvellously colored chicken with a crisp, crackly skin; perfectly cooked everything (including the breasts, which don’t dry out); and lots of delicious, garlic-infused cooking juices that drip into the skillet under the chicken and stay there without burning or evaporating. And all this in a mere 35 minutes! We’ve been so finger-licking impressed that the rôtisseries in our neighborhood might not see us quite so often.
For optimal flavor, the recipe also has you rub the chicken with olive oil, salt, dried herbs, and cumin (my own addition), and you should do this a little bit in advance, to allow the seasoning to be absorbed fully. For convenience, I like to spatchcock and rub the chicken the day before, and then keep it in the fridge until I’m ready to cook it the next day.
In terms of equipment, you do need a cast iron skillet — or any heavy skillet — that’s ovenproof, and large enough to fit your spatchcocked chicken. I use this 26-cm (10-inch) Lodge pan and a standard French chicken fits in nice and snug. You also need something to use as the weight: if you’re the kind of person who has ready access to loose bricks you’ll wrap one in foil, but failing that you can use a second cast-iron skillet or the lid of a Dutch oven. I use the lid from this adorable cocotte.
Join the conversation!
Have you ever spatchcocked a chicken? How did you cook it and how did you like the results?
* In French, a spatchcocked chicken is called by the cute term poulet en crapaudine, because the chicken is made to look a little bit like a toad, or crapaud. Croak, croak!

Have you tried this? Share your pics on Instagram!
Please tag your pictures with #cnzrecipes. I'll share my favorites!
Ingredients
- 1 ready-to-cook organic chicken (or at least farm-raised), about 1.3 kg (3 pounds)
- 1 tablespoon fine sea salt
- 1 tablespoons mixed dried herbs, such as Herbes de Provence (thyme, rosemary, oregano, savory, basil...)
- 2 teaspoons ground cumin
- 6 cloves garlic, crushed with the flat of the knife
- Olive oil
Instructions
- Using sturdy kitchen shears, cut the chicken along both sides of the backbone. Flip the chicken to breast side up and press firmly to open fully. This is called spatchcocking a chicken and this video shows you the process.
- Set the backbone aside in the freezer for your next chicken stock.
- In a small bowl, mix the salt, herbs, cumin and 2 tablespoons olive oil, and apply on the entire skin surface of the chicken. (It's easiest to do this with your hands; wash them meticulously before and after.) If there is time, cover with plastic wrap and allow to rest in the refrigerator for 30 minutes or, better yet, overnight.
- Preheat the oven to 260°C (450°F).
- Place a cast iron skillet (see details in the post above) over medium heat. When it is hot enough that a drop of water sizzles, pour in 2 tablespoons olive oil. Add the garlic and let it steep in the oil for 30 seconds.
- Push the garlic to the sides and place the chicken in the pan skin side down.
- Place the weight of your choice (a brick, another pan, or a cast iron lid; see details in the post above) on the chicken and press firmly so the chicken skin is as much in contact with the pan as possible. Cook undisturbed for 5 minutes.
- Protecting your hands with oven mitts (I love my Ove' Gloves), transfer the whole thing with great care (pan + weight + chicken = hot + heavy!) into the oven and roast for 15 minutes.
- Take the whole thing out (again, with great care), remove the weight and flip the chicken in the pan so it is now skin side up.
- Return to the oven for 15 minutes (without the weight this time), until the chicken skin is nicely colored and the chicken is fully cooked. (If you have a food thermometer with a probe, insert it into the fleshy part of the thigh and check that it has reached 74°C/165°F.)
- Carve the chicken and serve with the juice and garlic cloves, and perhaps perfect mashed potatoes and green beans on the side.
