On a quick trip to London a year and a half ago, I spent an embarrassing number of hours exploring the aisles of the Kensington Whole Foods, stocking up on amazing British bean-to-bar chocolate and the paleo granola that inspired my own.
In the dairy aisle I noticed with great curiosity that they sold coconut milk yogurt, and bought a small tub to have at breakfast the next morning — you know how I feel about hotel breakfasts. One spoonful and I was smitten: it had the smooth texture and lovely tang of dairy yogurt, but it was wonderfully aromatic, with that one-of-a-kind, subtle sweetness that coconut milk brings. You had to taste it to believe it.
Coconut milk yogurt had the smooth texture and lovely tang of dairy yogurt, but it is wonderfully aromatic, with that one-of-a-kind, subtle sweetness that coconut milk brings.
It was also fairly pricy (£2 for 125 g, that’s 2.80€ or 3$ for a half-cup, i.e. £16, 22.50€ or $25 for a liter/quart) and unavailable in France. So I resigned myself to see it as a once-in-a-blue-moon indulgence.
Until just a few of weeks ago, when I chanced upon this tutorial and saw the light: you can make your own coconut yogurt at home! From regular canned coconut milk! Available at the store!
The process is just as easy as making ordinary yogurt from cow’s or goat’s milk, which I do weekly: you simply combine the coconut milk with yogurt ferment or a probiotic supplement, and leave it to incubate at a steady, moderate temperature (around 40°C or 105°F) until the coconut milk is cultured, which takes 24 hours for the level of tang I like.
And I’ve been loving my homemade coconut milk yogurt. It’s a treat in and of itself, but I love it with a sliced-up banana and some granola, or dotted with berries, and I think it would make an excellent base for frozen yogurt. The yogurt tends to separate slightly, with a thin layer at the bottom and another of set coconut oil at the top, but I just stir it all back together before eating.
To get a thicker, more set yogurt, I have also experimented with adding gelatin (the grass-fed beef kind) to the mix, and although it complicates the process a little — you have to heat up some of the coconut milk to dilute the gelatin, but you shouldn’t add the ferment to too hot a liquid or you’ll kill the microorganisms — I like the end result even better. I’ve outlined both formulas below. (And obviously, the addition of the gelatin means you can no longer call this vegetarian.)
From a price perspective, my coconut yogurt works out to about 15€ (£11 or $17) per litre/quart, which remains more expensive than making yogurt from animal milk, but is notably cheaper than store-bought coconut yogurt.
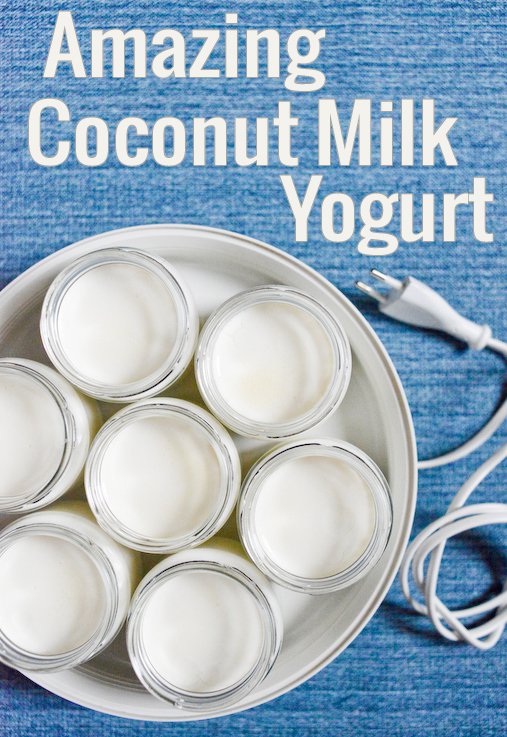
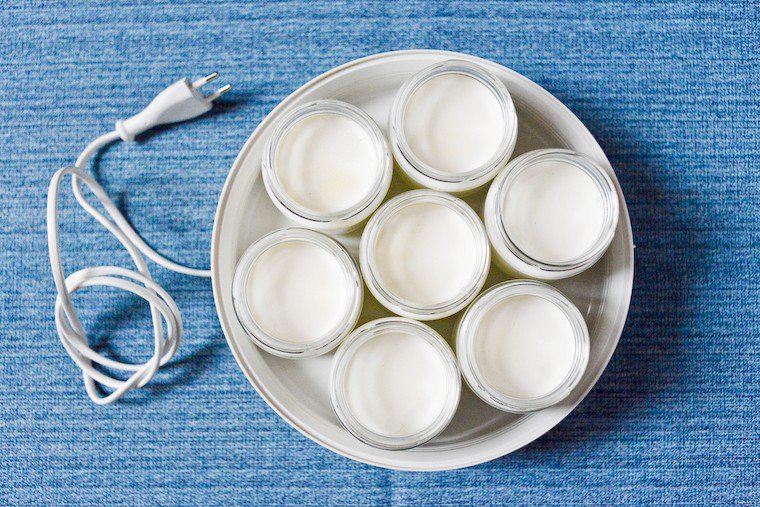
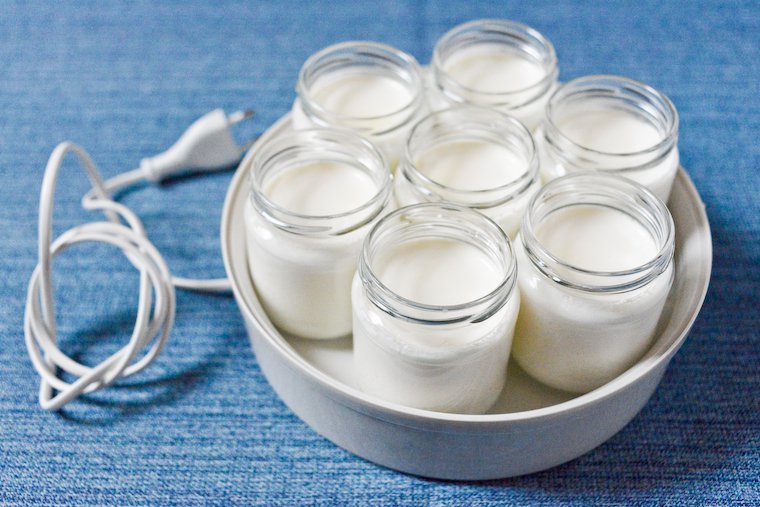
If you don’t have a yogurt maker, you can use the light inside your oven to generate the required heat (as outlined in the recipe below), but getting a yogurt maker is a small investment I promise you won’t regret. There is no need for anything fancy: I have a super basic model that doesn’t cost very much, and does the job perfectly. The one I own is equivalent to this model in the US, but if you live elsewhere, here are my criteria for choosing a yogurt maker:
- Glass jars: the cocktail of plastic and heat is an ugly one, and because you’ll be reusing the jars again and again, you want them to be inert and heat-resistant, i.e. made out of glass.
- No automatic shut-off: many models turn themselves off automatically after a few hours (6 to 8, depending on the model) because they consider that the yogurt is done after that time. However, you may like your yogurt tangier (incubated longer), or you may want to make 24-hour yogurt if you have trouble with lactose, or you may want to make coconut yogurt, which takes 24 hours also. I understand the convenience of the automatic shut-off, but I prefer to set an alarm for myself and keep control of the incubation duration. Conveniently, these manual models are also cheaper!
- The possibility of getting extra jars: you definitely want a double load of jars right from the start, so you can begin a new batch of yogurt before you’ve eaten (and cleaned) your way through the previous one. Also, breakage happens (ahem).
- There are single-container models that allow you to make the yogurt in bulk rather than in individual jars, but for my own use I find it much more convenient to have the yogurt pre-portioned and ready to grab in the fridge.
The coconut milk I use for these yogurt is one I buy at the organic store (the Organi brand) which costs 2.49€ per can, is 15% fat, and has no BPA in the inside lining (I’ve checked with the manufacturer). As for the ferment, I’ve successfully used this yogurt starter as well as this probiotic supplement, which has 7 billion probiotics (Lactobacillus, Bifidobacterium, Lactococcus, and Streptococcus strains) in each dose.
Join the conversation!
Do you make your own yogurt? What’s your prefered method? Have you ever tried it with non-dairy milk?

Have you tried this? Share your pics on Instagram!
Please tag your pictures with #cnzrecipes. I'll share my favorites!
Ingredients
- 1.2 liter (5 cups) canned organic full-fat coconut milk, from three 400-ml (13 1/2-oz) cans (make sure the lining is BPA-free)
- 1 tablespoon unflavored grass-fed beef gelatin powder (optional)
- 1 sachet yogurt ferment or probiotics (I use this one, which has 7 billion probiotics in each dose) OR 120 ml (1/2 cup) yogurt saved from the previous batch (see note)
Instructions
- In a large bowl, whisk about 120 ml (1/2 cup) of the coconut milk with the ferment. Pour in the remaining coconut milk, whisking as you go.
- In a large bowl, whisk the beef gelatin with one can of coconut milk.
- Pour a second can of coconut milk into a saucepan, place over medium heat, and bring just under a simmer. Pour into the large bowl, whisking carefully .
- Whisk the ferment into the third can of coconut milk, and whisk the contents of the can into the bowl.
- Divide the coconut milk mixture among the jars of the yogurt maker.
- Switch it on and leave to incubate for 24 hours (if your yogurt maker has an automatic shut-off feature, you'll have to turn it back on).
- Allow to cool to room temperature without disturbing, then place in the fridge.
- Pour the coconut milk mixture into glass jars with heatproof lids, and close the jars.
- Place in the oven, close to the oven light (ideally with a 60-watt bulb). Turn the oven light on, and leave the yogurt in with the light on for 24 hours. The temperature inside the oven should remain in the 38-43°C (100-110°F) temperature range; use an oven thermometer to make sure.
- Allow to cool to room temperature without disturbing, then place in the fridge.
Notes
You can use a small amount of yogurt from the previous batch as a starter for a fresh batch and repeat this cycle a few times, until you find the new batch is more acidic and doesn't set quite as well as you'd like. Use a fresh dose of ferment or probiotics for your next batch then.
