I realize this puts me in the minority, but I am someone who longs for fall, and the new crop of apples that comes with it.
Returning to the Batignolles farmers market after our vacation, I was elated to spot crates of bright red Akane apples — the first to appear in late August — and promptly filled a bag with them, my mouth watering at the thought of the crisp, acidulated wedges I would soon sprinkle with cinnamon and use to scoop up my lightly salted, crunchy almond butter.
But these apples are pretty good for baking, too, and on the first of the chillier, windy days that followed the altogether wonderfully warm summer we’ve had this year, I decided to call upon the comfort of a simple tarte tatin.
Beyond a good, tasty crust that’s both tender and crumbly, a winning tart tatin starts with a nice layer of buttery salted caramel.
I’m sure some cooks feel intimidated by the idea of this dessert but truly, there is no need to be. I would argue that it is, in fact, the most forgiving of tarts: the dough can be patched up as necessary if you can’t quite roll it out in one go — since the fruit bakes underneath it, you don’t have to worry about it being leak-proof — and there is no risk of it turning soggy since it is directly exposed to the heat of the oven.
Beyond a good, tasty crust that’s both tender and crumbly, a winning tart tatin starts with a nice layer of buttery caramel on which to arrange the apples at the bottom of the pan. This is easily done as well, if you trust your eyes and your nose to alert you to its doneness (the goal is golden brown and irresistibly nutty). I then sprinkle that layer of caramel with some salt, because well, what’s buttered caramel without salt?
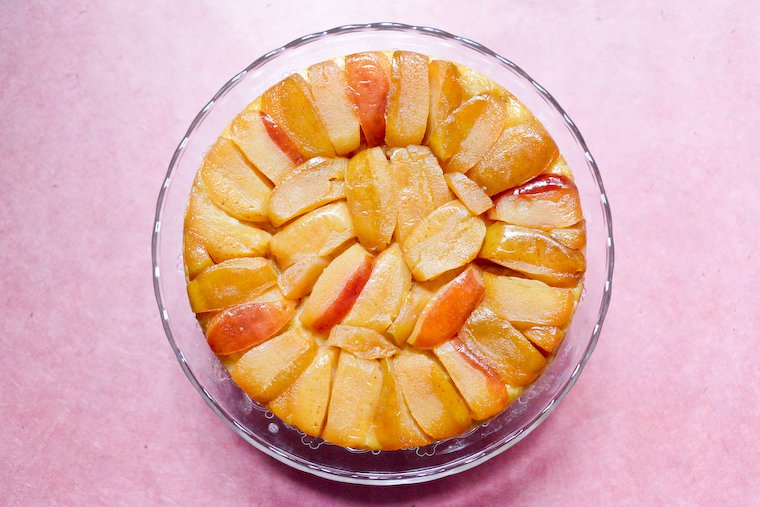
I also peel the apples in alternating stripes, not just because it’s half the work (though it is) but because I think it’s pretty and I like a bit of skin on my cooked apples.
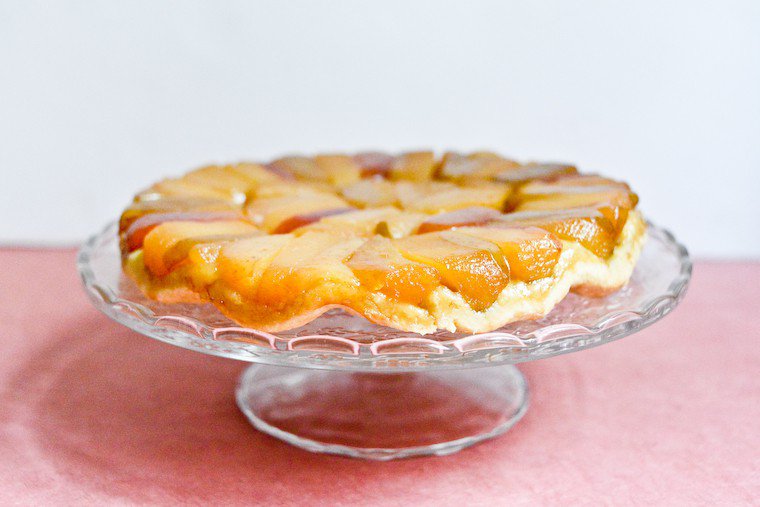
Perhaps the last step that needs demystifying is the flipping of the finished tart, in order for the crust to return to the bottom and the apples to the top. I admit this is a manoeuvre not to be taken lightly, but an assertive gesture and a good pair of oven mitts will do the job quite nicely. I actually enjoy the thrill of it — will it flip, will it stick? oh, the sense of adventure! — and feel safe knowing that any stubborn apple wedge that might remain stuck to the pan can be scraped off carefully and returned to its rightful place with no lasting consequence.
Some people like their tart tatin at room temperature, others prefer it slightly warm. You can still bake the tart earlier in the day then; you’ll just warm it back up in a low oven. As for accompaniments, I am partial to crème fraîche or thick yogurt, but I won’t begrudge you a scoop of vanilla ice cream if you promise it isn’t the artificially-flavored, tooth-achingly sweet kind.
Join the conversation!
How does tarte tatin rate on your favorite fall desserts list? Have you ever tried baking one yourself, and how did that go?

Have you tried this? Share your pics on Instagram!
Please tag your pictures with #cnzrecipes. I'll share my favorites!
Ingredients
- 200 grams (1 1/2 cups) all-purpose flour
- 25 grams (2 tablespoons) unrefined blond cane sugar
- 1/2 teaspoon fine sea salt
- 120 grams (1/2 cup) unsalted butter, cold and diced
- 1 large organic egg yolk
- 75 grams (5 tablespoons plus 1 teaspoon) unsalted butter
- 75 grams (6 tablespoons) unrefined blond cane sugar
- 1/4 teaspoon fine sea salt
- 4 large organic apples, about 800 grams (1 3/4 pounds)
Instructions
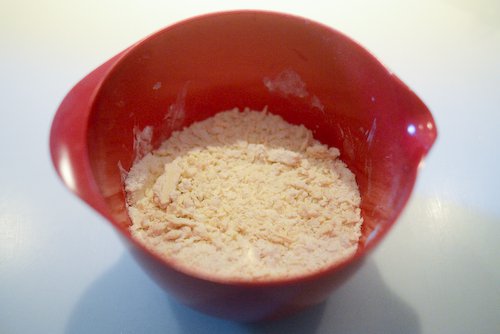
- First, prepare the dough for the crust. In a medium mixing bowl, combine the flour, sugar and salt. Add the butter and yolk, and rub them in with a pastry blender or a fork until you get an even, coarsely sandy consistency.
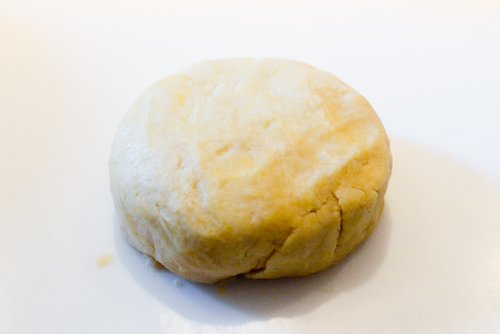
- Turn the dough out onto a clean work surface. Add 2 tablespoons cold water and knead briefly to gather the dough into a smooth ball. If necessary, add a touch more water. Put the dough on a plate, cover with an upturned bowl and refrigerate for 1 hour or overnight.
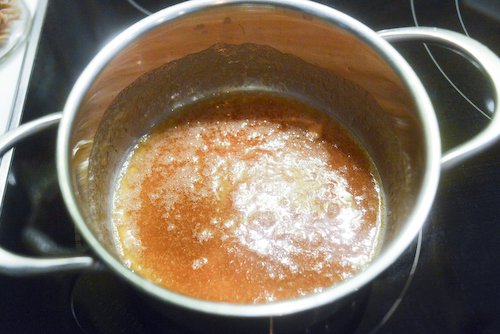
- Now, prepare the caramel coating. Put the butter and sugar in a small saucepan over medium heat. Allow them to melt together until the mixture becomes golden brown and smells irresistibly nutty and caramel-y, swirling the pan around from time to time but not stirring.
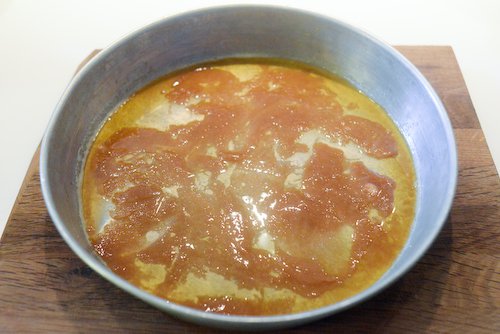
- Pour the butter caramel into a round 25-cm (10-inch) cake pan (don't use one with a removable bottom) and spread more or less evenly with a spatula. Sprinkle with the salt.
- Preheat the oven to 190°C (375°F).
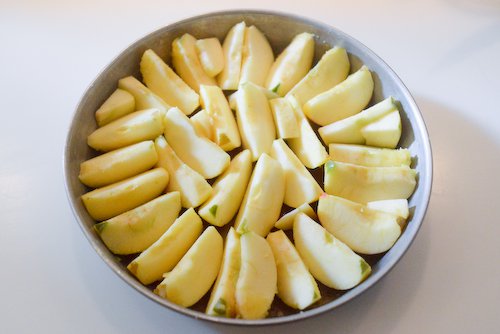
- Peel the apples in alternating stripes. Core, cut into eighths, and arrange in the pan, rounded side down, starting from the outside.
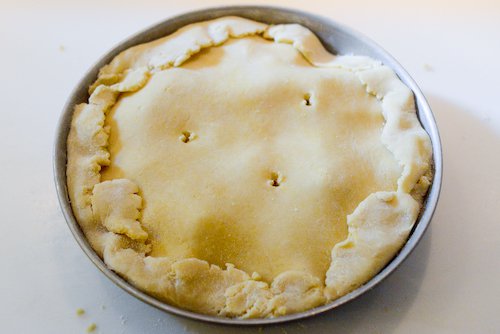
- Roll the dough out on a lightly floured work surface to form a 30-cm (12-inch) circle. Lift the dough up and transfer it over the apples. Tuck in the side, patch up as needed, and pierce three holes for ventilation.
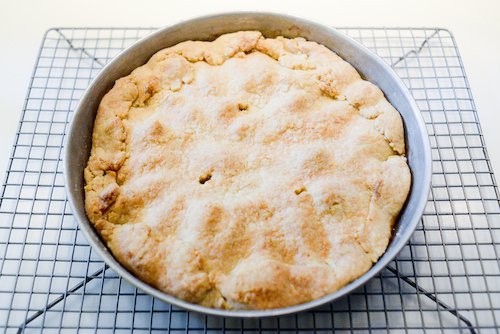
- Bake for 50 minutes to 1 hour, until the crust is golden brown and the apple juices are bubbling from the sides. Transfer to a rack.
- Allow the tart to cool for 5-10 minutes. Run a knife all around to loosen the crust. Top with an upturned serving plate and, wearing oven mitts and long sleeves, flip the whole thing so the tart lands crust side down on the plate. If any piece of fruit sticks to the pan, just scrape it off gently and place it back where it belongs.
- Serve warm or at room temperature, with a dollop of crème fraîche.
