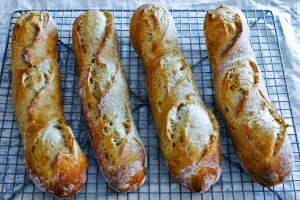
Due to my ever-widening enthusiasm for breadmaking, I have become a close follower of the Bread Baker’s Apprentice challenge, wherein a group of bakers bakes its way through Peter Reinhart’s revered opus and blogs about the results, with numerous details and step-by-step photos. This makes for fascinating posts if you’re into that sort of thing, and reading about others’ well-documented hurdles and triumphs is most helpful if you want to bake from the book.
And this is how I was inspired to try Reinhart’s recipe for English muffins, with a view to adjusting it later and make use of my sourdough starter to get sourdough English muffins.
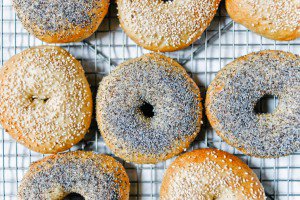
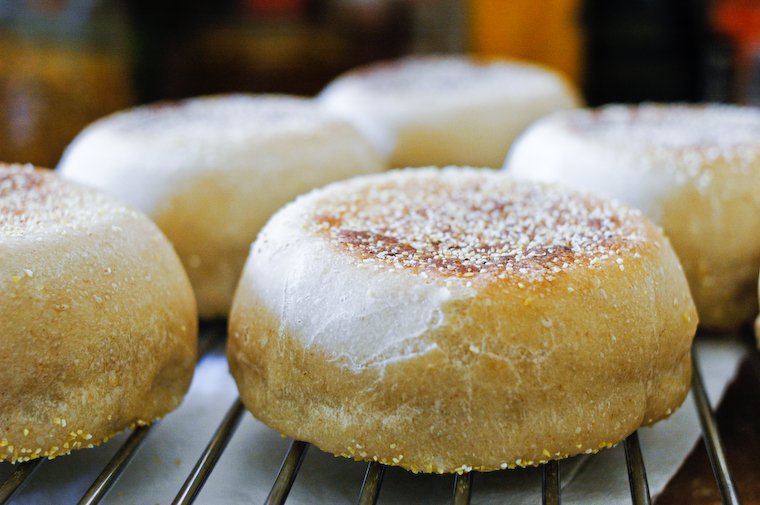
If you’ve never really stopped to consider how English muffins are made — and I wouldn’t hold it against you — you may be interested to learn that they simply grow on English muffin trees. No, really, however easily I could picture that to be true*, English muffins are in fact little loaves of bread dough that are cooked on the stove like pancakes, rather than baked in the oven, which explains (aha!) the two flattened, browned faces.
English muffins are in fact little loaves of bread dough that are cooked on the stove like pancakes, rather than baked in the oven, which explains (aha!) the two flattened, browned faces.
The difficulty of this method is that you need to time the cooking precisely: long enough that the muffins are cooked all the way through to the center (to preclude any gumminess of crumb), but not so long that the surface of the muffins get too dark. Peter Reinhart offers a simple solution: he has you brown the muffins on a griddle or skillet first, and then finish them in the oven, where they will continue to bake through without coloring any further.
My first attempt was a qualified success: the dough came together nicely, but I got a little carried away when preheating my dear cast-iron skillet** — c’mon, let’s fire up that baby! — and I burned a good half of the muffins. We still ate them, slicing off the offending charcoal layer, and they were pretty good, but I felt the taste of the yeast came through a bit too strongly.
For my second attempt, I modified the recipe to incorporate some of my natural starter (have you met Philémon?) for sourdough English muffins with a more complex flavor. Although my preference would be to use my starter as the only leavener, I used both starter and commercial yeast here (albeit in a smaller amount than in the original recipe), a necessary compromise when working with an enriched dough: the starter would not be quite strong enough to lift it on its own in a reasonable amount of time.
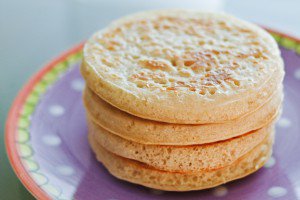
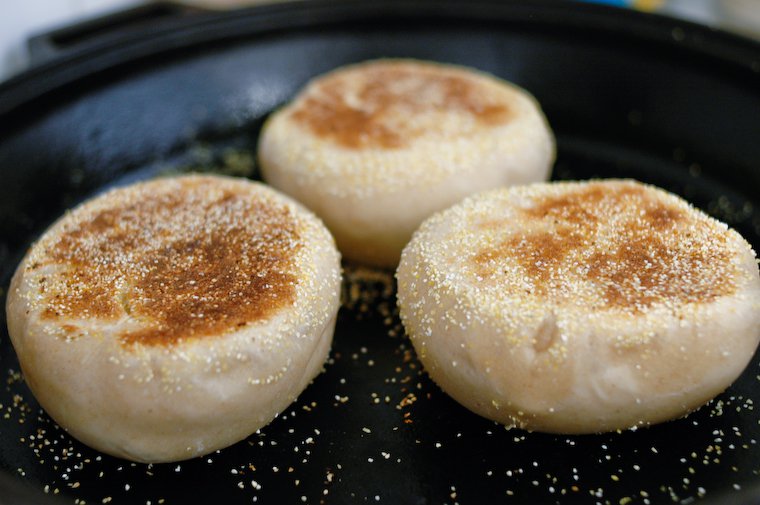
Take two of the sourdough English muffin project turned out fantastically well: the flavor was better developed, thanks to the longer fermentation and the use of the starter, and I cooked them more gently this time, making the cornmeal-dotted surfaces golden brown and crusty just so.
You can certainly eat the muffins when freshly baked, but I personally prefer them toasted, and I have found that the texture and flavor improves over time, so that you can absolutely bake them the day before you want to eat them (for breakfast or tea), and continue to enjoy them over the next few days. I’m sure they’d freeze perfectly, too.
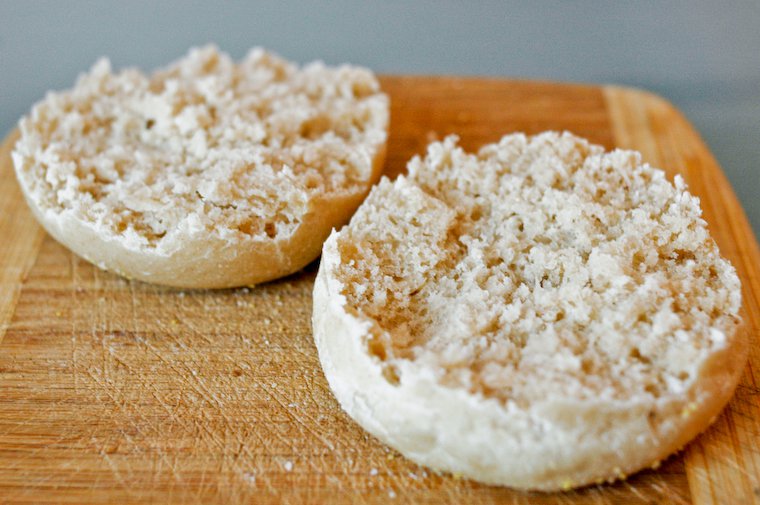
The final thing you need to know about homemade muffins is that they should be fork-split to achieve optimal texture. Just prick the muffin all around its girth with the tines of a fork, then pull the two halves apart gently; you’ll get a nicely craggy surface that will take splendidly to toasting and liberal buttering. (Of course, there’s also a gadget for that.)
* If there is such a thing as a breadfruit, why not an English muffin tree?
** I have now acquired a spiffy laser thermometer that should preclude that sort of problem in the future.

Have you tried this? Share your pics on Instagram!
Please tag your pictures with #cnzrecipes. I'll share my favorites!
Ingredients
- 250 grams (8.8 ounces) bread flour (I used the French farine bise T80, which is about halfway between white and whole wheat)
- 70 grams (2.5 ounces) ripe natural starter (fed 6 to 8 hours before; the idea is to use it when it's almost at its peak)*
- 1/2 teaspoon sea salt
- 1/2 teaspoon instant yeast (I use the SAF brand)
- 1/2 tablespoon honey or sugar
- 15 grams (1 tablespoon) butter, softened
- 150 ml (1/2 cup plus 2 tablespoons) milk, plus a little more if necessary (you can also use buttermilk)
- cornmeal, for sprinkling
Instructions
- Place the ingredients from flour to milk in a large mixing bowl, or in the bowl of a stand mixer. Stir until the dough comes together into a ball. If it seems too dry for all the flour to get incorporated, add just a little more milk until it does. Knead by hand on a floured surface for 10 minutes, or with the dough hook of your stand mixer for 8 minutes. The resulting dough should be smooth and pleasantly tacky. (Peter Reinhart says it should register 25° to 27°C, or 77° to 81°F, but I didn't check the temperature myself.)
- Transfer the dough to a lightly oiled bowl, cover with a clean kitchen towel and let rise at room temperature until doubled in bulk, about 4 hours. (After the first rise, you may place the dough in the fridge for a few hours or overnight; let rest at room temperature for an hour before you continue as described below.)
- Turn the dough out onto a lightly floured surface or an unfloured silicon baking mat; the dough will naturally deflate a little as you do so, but don't punch it.
- Using a bench/bowl scraper or a simple knife, divide the dough into 6 equal pieces. Each should weigh about 85 grams (3 ounces).
- Shape them into rolls as demonstrated in this video.
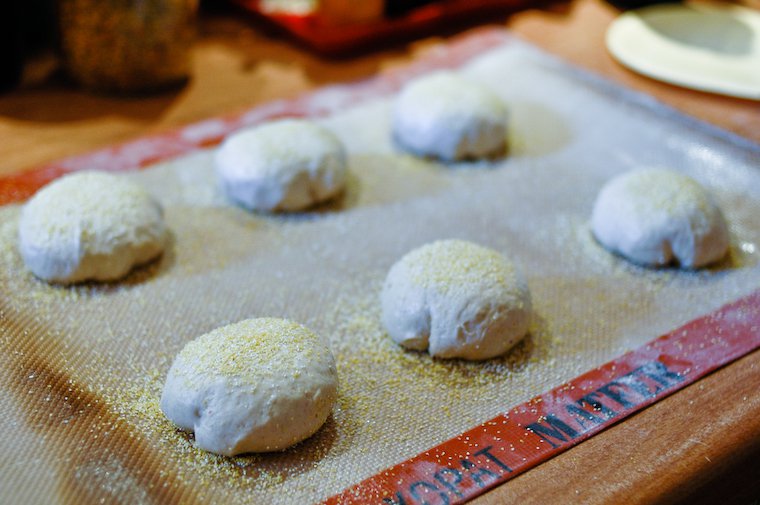
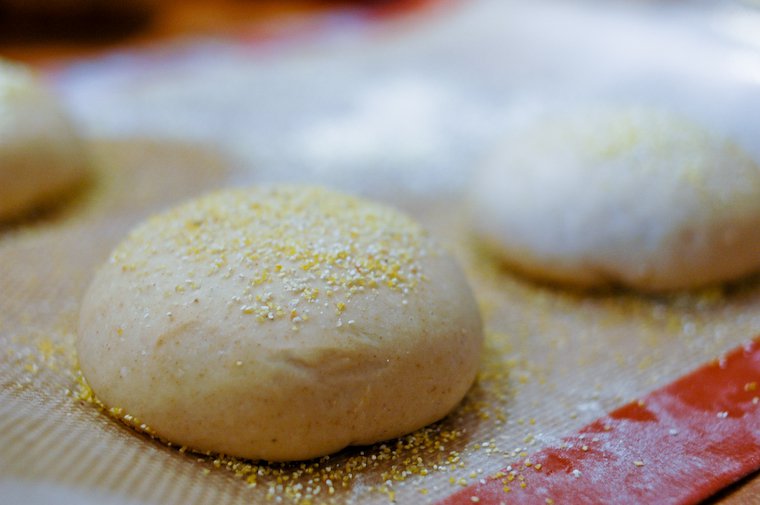
- If you've been using a silicon mat, this is where you will leave the muffins to rise again: space the balls of dough out on the mat, sprinkling cornmeal under each of them (be generous, or you'll have trouble lifting the balls of dough later; you can always pour the unused cornmeal back into the container when you're all done). If you don't have a silicon mat, do the same thing on a baking sheet lined with parchment paper.
- Sprinkle the tops of the balls of dough with more cornmeal (the dough should be tacky enough for the cornmeal to adhere, but if it isn't, spray or brush lightly with olive oil first) and cover loosely with the kitchen towel. Let rest at room temperature for about 2 hours, until puffy and nicely expanded. Try not to let them overproof: the trick is to cook them while still on the rise.
- Heat a lightly greased skillet or griddle on medium heat; if your griddle has a thermostat, set it to 175°C (350°F). If not, it is best to err on the side of too little than too much heat. I have had good success heating my cast-iron skillet on my electric stovetop on setting 3 out of 6.
- Also, preheat the oven to 175°C (350°F) and have ready a baking sheet. (After cooking on the stovetop to create the flat top and bottom, the muffins will go into the oven to finish baking to ensure they're cooked right down to the center.)
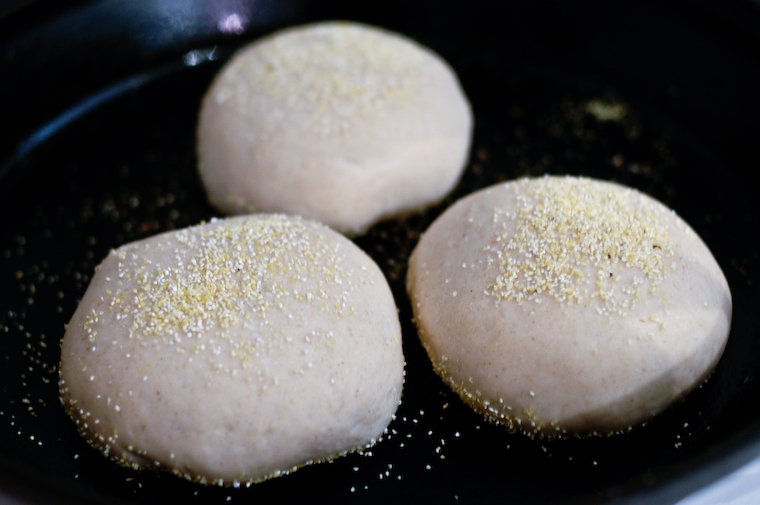
- Use a thin spatula to lift the muffins carefully, one by one, transferring them to the skillet without deflating. The muffins need a little elbow room as they cook, so work in batches if necessary, keeping the uncooked muffins covered. (I cooked two batches of three.)
- Cook for 5 to 7 minutes on the first side, until the bottom is lightly browned (peek carefully underneath to check how they're doing), rotating the pan every few minutes if it has hot spots. The muffins should rise and expand a tiny bit more; it's lovely to watch. Flip the muffins carefully using the spatula, working gently to avoid deflating them, and cook 5 to 7 minutes on the other side, until lightly browned. Avoid overbrowning the muffins: you're going to toast them before eating, and they will brown a little further in the toaster.
- Transfer the cooked muffins to the prepared baking sheet, and place in the oven to bake for 6 minutes; they shouldn't brown any further. Transfer to a rack to cool.
- If you're working in batches, you can start cooking the second batch as soon as the first batch is in the oven; you'll just need to be a reasonably good multi-tasker and keep track of the cooking times for each batch.
- The muffins keep well for four days, well wrapped (I haven't tried keeping them longer than that), and should freeze well, too.
Notes
- My version of the recipe is even longer than Peter Reinhart's, which I didn't think was possible, but the process really isn't difficult at all. I simply tried, as I always do, to go into as much detail as I thought would be helpful. If you'd like to make the muffins without starter, see note at the foot of the recipe.
- To make this without starter, up the flour to 280 g (10 oz), the instant yeast to 4 g (1 1/4 tsp), and the milk to 170 ml (3/4 cup). The rising times for the bulk fermentation and the proofing will be shorter (approximately by half).
- Adapted from The Bread Baker's Apprentice by Peter Reinhart.