Rue des Martyrs, a street that shoots up from the 9th into the 18th arrondissement, is one of those typical Paris market streets that seems to defy business logic by offering no fewer than seven bread bakeries, some of them but a block from one another.
Because I live in the neighborhood, I’ve had the opportunity to sample the goods from (almost*) all of them, and I’ve been particularly impressed with the breads I’ve purchased from Maison Landemaine, on the eastern sidewalk: their tourte de meule (a round rustic loaf) and their baguette**, both leavened with their natural starter, are excellent, and they make a very good chocolate bread, too.
In French, the concept of chocolate bread poses a slight semantics problem, because the name pain au chocolat (literally, chocolate bread) is already taken by a much-loved member of the viennoiserie family that involves croissant dough wrapped around one or two sticks of chocolate to form a rectangular little pad. In some parts of France — especially in the south — this is cutely called a chocolatine.
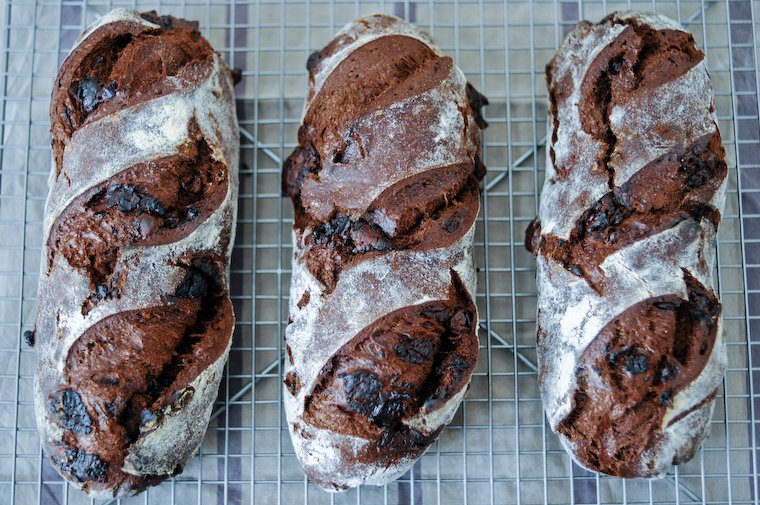
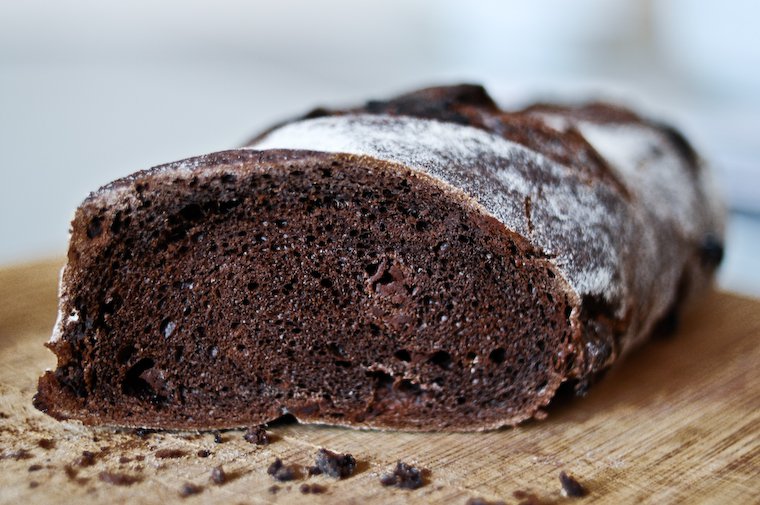
But what we are talking about here is a regular bread dough that is flavored with cocoa powder and studded with small bits of chocolate — an entirely different animal, one that’s more to my taste. And since I’m always looking for new and delicious ideas to keep my natural starter entertained, it wasn’t long before I decided to make my own.
I remembered Nancy Silverton has a recipe for chocolate cherry bread in her sourdough baking book Breads from the La Brea Bakery, so I looked it up, but hers involves sugar and butter — she developed it to please the customers who came in wanting dessert rather than a loaf of bread — and I wanted my dough unenriched.
Instead, I simply elaborated on the recipe I use for my sourdough baguettes, substituting cocoa powder for part of the flour and folding coarsely chopped chocolate into the dough, and making bâtard-shaped loaves. Because Nancy Silverton notes that the cocoa powder hinders the rise of the bread, I followed her lead and added a little fresh yeast to aid the action of the starter.
Aside from this addition of yeast, the technique is very similar to the one I describe in my baguette post, with an overnight fermentation for flavor and flexibility; you can refer to it for pictures of the different steps.
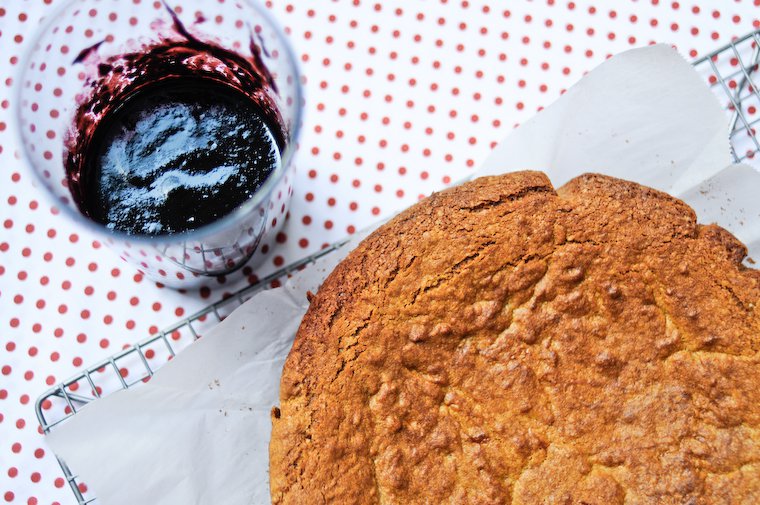
Because it is just bread with cocoa powder and a little dark chocolate, it is neither too rich nor too sweet for breakfast (i.e. no brick feeling in your stomach, and no sugar crash by mid-morning) and it is a luxurious treat to begin the day with, lightly toasted, and spread with butter or almond butter.
The tight crumb makes it ideal for tartines and I probably don’t need to elaborate on the list of things you can spread on chocolate bread, but I will say this: raspberry jam or dulce de leche make it quite irresistible.
I like it like this, with just chopped chocolate folded in, but you could imagine endless variations, incorporating dried fruit (cherry, fig, prune), orange peel (as in this loaf) or nuts (pistachios, almonds, walnuts), or possibly replacing a little of the wheat flour with chestnut or malt flour.
This bread stays fresh for a few days, like most starter-leavened breads, but if the leftovers dry up they’ll make a fine bread pudding or great breadcrumbs; they’re the ones I used for the Noma-style radishes in soil I wrote about recently.
Maison Landemaine
26 rue des Martyrs, Paris 9ème
M° Notre-Dame de Lorette
+33 (0)1 40 16 03 42 / map it!
* A few of them I didn’t bother to visit; sometimes a glance at the bread shelf is all it takes to form an opinion.
** Bruno Verjus shot a few videos of their baguette-making process.
Continue reading »