For the past three years now, I’ve been writing a column in ELLE à table, a French bimonthly cooking magazine. This column spans two pages, and I generally devote one to an ingredient (cardamom! buckwheat! white chocolate!) and what you can do with it, the other to a food experience or trend (superfoods! Japanese pastries! mushroom picking!) and why you should care about it.
In the next installment (spoiler alert), due to appear in the March/April issue of the magazine, I’m declaring my passion for the rolled grain — flocon de céréale in French — as a multi-faceted ingredient and an all-around trouper: cheap, nutritious, and versatile.
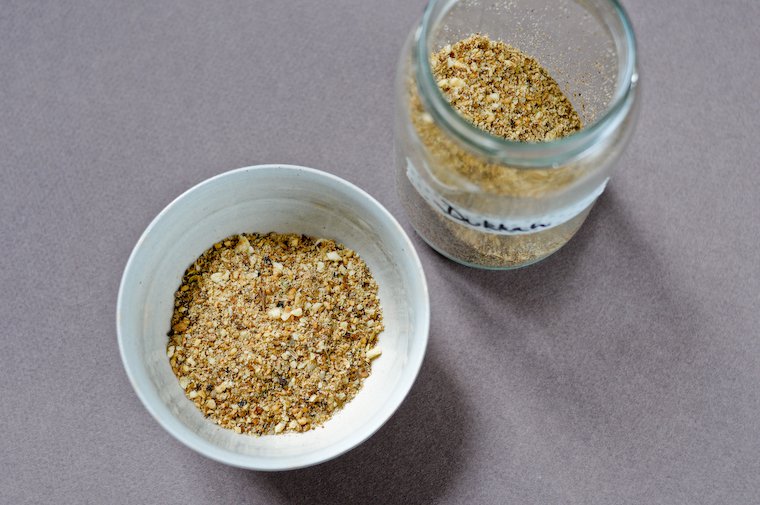
If the term “rolled grain” doesn’t ring a bell, just think of oatmeal: each of these little flakes is in fact an oat groat that was rolled between two tight cylinders to make it flat (ouch). In fact, when you look at a rolled grain closely, you can recognize the shape of the original grain, with the “seam” in the middle (I admit without shame that I realized this only recently). The same treatment can be, and is, applied to other unsuspecting grains: spelt, barley, rice, kamut, wheat, rye, you name it.
I am never without a bag or two or four of assorted flocons, and I use them in very many things, from granola to cookies, from bread dough to fruit crumbles, and from gratins to savory tarts.
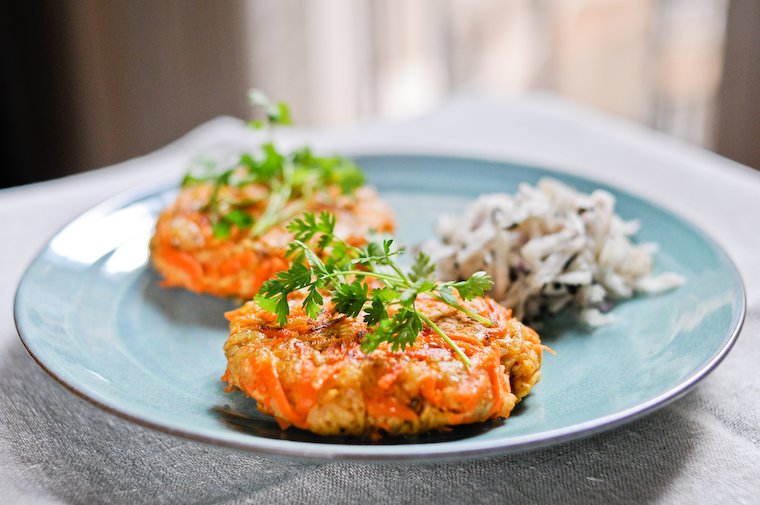
And I’ve recently added a new type of preparation to the list of great things rolled grains and I can accomplish: please meet the carrot and barley galette, a vegan vegetable and grain patty that would love to meet you for lunch sometime.
All you need to do is combine rolled barley with grated carrots and a few seasoning ingredients, add water, wait for this mixture to swell and cohere, then shape into patties and cook in a skillet until crisp and golden with a tender heart.
I call it carrot and barley because, well, I’ve mostly made it with grated carrots and rolled barley, but naturally you can take the concept and run away with it (just don’t trip and fall on your face), using whatever grain and vegetable you like.
It works especially well with root vegetables (I’ve made a beet and spelt variation for instance), but nobody says you can’t try it with finely minced winter greens, grated Hokkaido squash, chopped mushrooms, or, come warmer days, with peas and later zucchini or tomatoes (in that case, you’ll have to adjust the amount of water to account for the juices). The one thing to remember is that said vegetable won’t really have time to cook in the skillet, so you’ll have to decide whether it needs to be cooked beforehand, or can be eaten semi-raw.