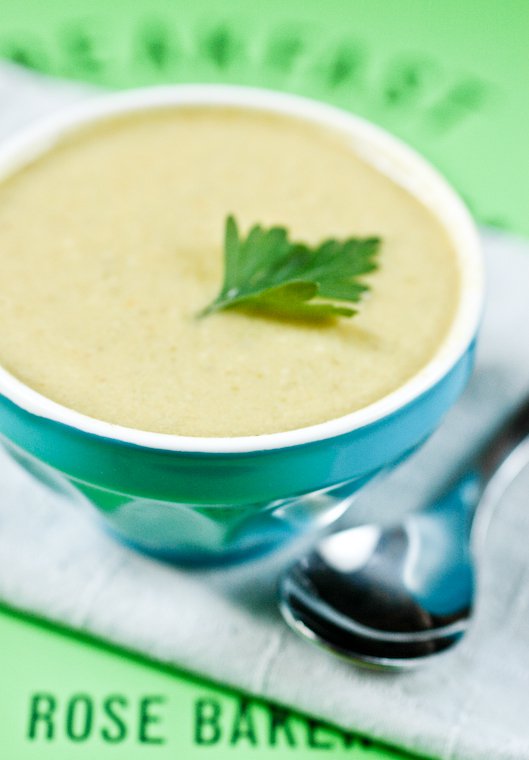
Soupe de Haricots Verts aux Amandes
None of my friends need to be reminded how I feel about Rose Bakery, their salad plates, their assortment of British goods (including Neal’s Yard cheeses), and their superb sweets that one simply must try and reproduce at home. “Where should we go for lunch in your neighborhood?” they ask. “I like Rose Bakery,” I reply. “And what about breakfast/tea/brunch, what do you recommend?” they ask. “Well, I like Rose Bakery,” I repeat.
Admittedly, Rose Bakery gives off a very distinctive vibe, one that I rarely encounter anywhere else in this city: completely devoid of any eagerness to please, but neither standoffish nor haughty, the staff displays a reserve that one may be tempted to describe as British, supported by a profound confidence in the quality of what they make and sell.
The flavors are bright and clean, the texture a perfect mix of nubby and smooth: this soup is a splendid way to honor this year’s crop of green beans.
I’m sure some people would dislike that, but I find myself drawn to this kind of place, where no one and nothing tries to sway your judgment (or worse, press someone else’s on you), and all that is asked of you is to taste and decide for yourself. No glitzy interior design, no elaborate packaging, no flash in the proverbial pan — just fine, fresh, seasonal food prepared tastefully and presented simply.
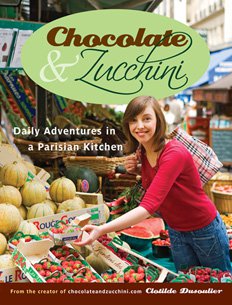
And the book that owner Rose Carrarini has just issued, called Breakfast, Lunch, Tea, is entirely true to this spirit: the layout is pared-down and clutter-free, Toby Glanville’s pictures are beautiful but seemingly unstaged (though of cours, we know better), and the recipes are short, simple, and inspiring.
It is a delightful feeling to have the secrets of some of my favorites finally revealed and I have tagged the pages with many a sticky little flag. The green bean and almond soup is the first recipe I’ve tried, and I’m happy to say it lived up to my expectations: the flavors are bright and clean, the texture a perfect mix of nubby and smooth, and this soup is a splendid way to honor the last of this year’s green beans.
Rose Bakery Map it!
46 rue des Martyrs, 75009 Paris
01 42 82 12 80