When Maxence and I traveled to Japan two years ago, one of the treats I indulged in on a daily basis was the onigiri, the ubiquitous rice ball that is a staple of the Japanese diet, eaten as a nicely portable snack and packed for lunches outside the home* and also called musubi or omusubi.
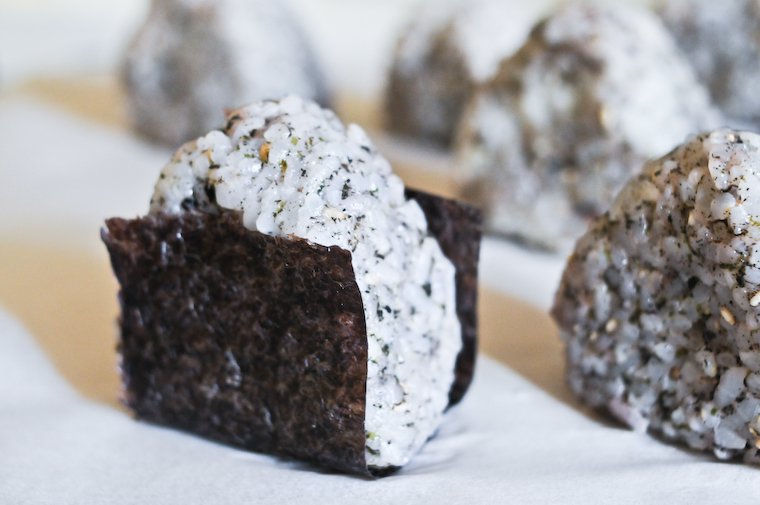
We mostly bought them from konbini, the 24/7 convenience stores that pepper the streets of Tokyo, and on one occasion from a specialized shop that sold nothing but onigiri (imagine that!), and always I reveled in the unique satisfaction one gets from biting through the thin, crisp layer of seaweed and into the cool, plump, clean-tasting rice inside.
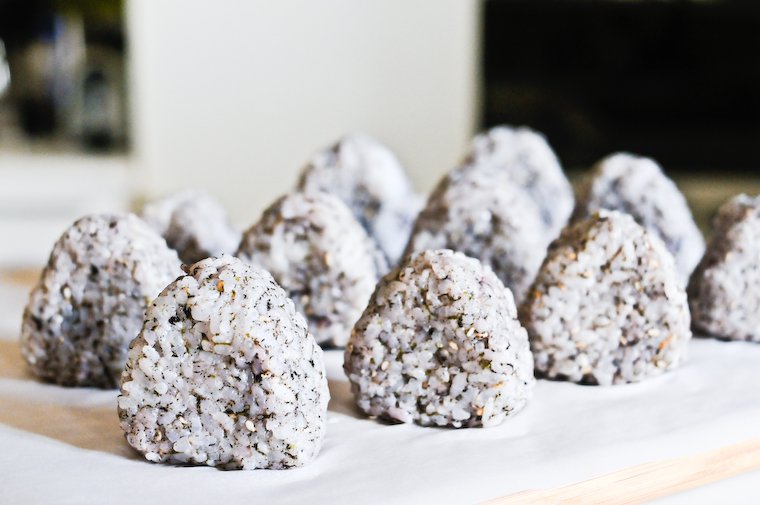
I have been making my own easy onigiri on a regular basis at home since then**. All it takes, really, is getting the right kind of rice (sushi or japonica rice), cooking it properly (rinse well*** and boil in one and a half its volume of water), stirring in some kind of flavoring (I mostly make “mixed-rice” onigiri), and scooping the still-warm rice into my hands to form small mounds.
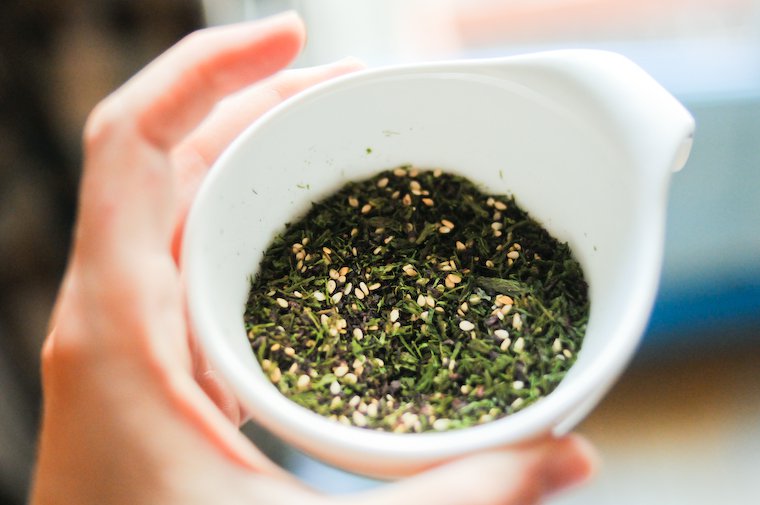
The flavorings I add in most often are ready-made furikake (various dehydrated flakes designed to adorn rice) that I buy from one of the Japanese markets in Paris, or gomasio (a mix of toasted sesame and salt), or salt and seaweed flakes. In the pictures that illustrate this post, I used a happy mix of toasted sesame, purple shiso furikake, and some river seaweed.
I do like naked onigiri, but I like them even better with toasted nori wrapped around them, on the condition that it’s added at the last minute so it will retain its crisp texture rather than become chewy. Konbini onigiri come in this clever (but not very green) packaging that isolates the seaweed from the rice until you pull it open from the sides to reunite them; I just keep the rice balls and the seaweed strips separate, and wrap each onigiri just before eating.
These easy onigiri are a swell option to consider if you pack your lunch to bring into the office, or if you plan on having a picnic on a patch of green somewhere. I’ve also found it to be a good way to upcycle leftover rice the next day: add a touch of boiling water from the kettle to reheat and re-moisten the rice, stir, and proceed with the seasoning and shaping.
~~~
* The wonderfully knowledgeable Makiko Itoh has written just about everything you could possibly want to know about onigiri in the following posts: Onigiri shapes, Onigiri FAQ, Onigiri revisited and More about onigiri.
** I also buy them ready-made from Aki Boulanger (16 rue Sainte-Anne, Paris 1er), K-Mart (8 rue Sainte-Anne, Paris 1er), and Nanashi.
*** And here I’m always super careful not to let even a single grain of rice escape into the sink, thinking of Tara‘s wonderful Tales from High Mountain, in which she is taught an old Japanese proverb that says, “If you waste rice, you will go blind.”
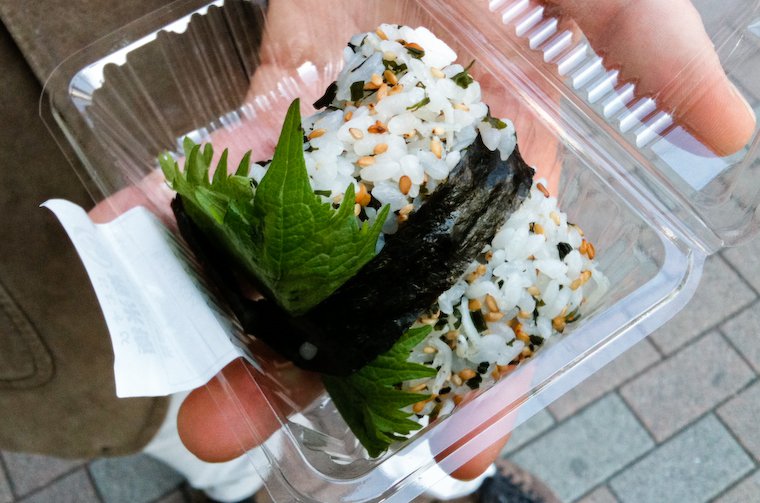
Onigiri from an onigiri shop on Aoyama-dori, Tokyo

Have you tried this? Share your pics on Instagram!
Please tag your pictures with #cnzrecipes. I'll share my favorites!
Ingredients
- 250 grams (1 1/4 cups) sushi rice (a short-grain white rice, also called japonica rice)
- 6 tablespoons furikake or gomasio
- 1 1/2 sheet toasted nori, cut into 10 long rectangles
Instructions
- Rinse the rice in 3 or 4 baths of cold water, until the water is clear, and drain well.
- Put the rice and 450 ml (1 3/4 cups plus 1 tablespoon) water in a saucepan (because the rinsed rice, however well drained, retains some water, I weigh the rice before and after rinsing and take that into account to add exactly the right amount of water) and let stand for 20 minutes if you can.
- Cover, bring to the boil, and simmer for 10 minutes, until the water is absorbed and the rice is cooked. Remove from the heat and let stand, covered, for 5 minutes.
- Add the furikake and mix it in gently with a wooden spatula, using a cutting gesture to separate rather than smoosh the grains of rice. Let stand until just cool enough to handle, but still warm.
- Keep a bowl of cold water nearby and dip your hands in to wet them. Scoop out a portion of rice, a little bigger than a golf ball, and shape it into a pyramid or ball by pressing it gently between the palms of your hands. Place on a sheet of parchment paper and let cool to room temperature. Wet your hands again and repeat until you've used up all the rice.
- Just before eating, wrap a piece of nori, shiny side out, around the onigiri.