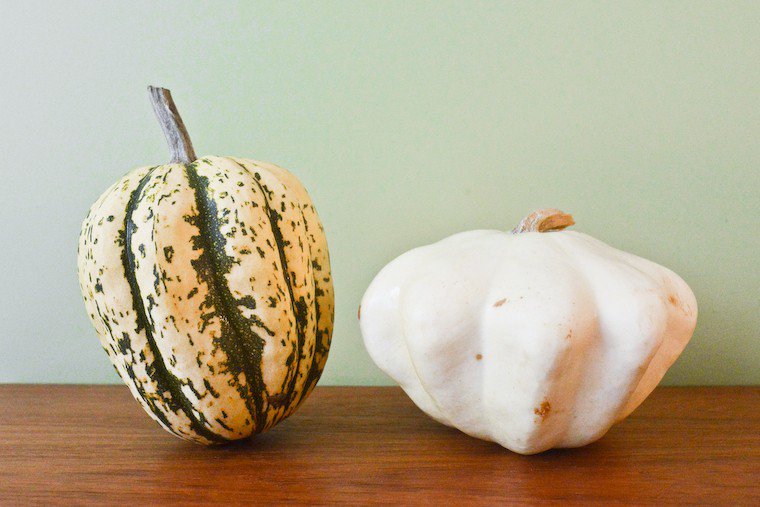
Winter squashes, with their wonderful range of shapes, colors, patterns and flavors, are definitely among the sweeter treats of the cold months. But the sweetness comes at a price: first, you have to roll up your sleeves and find some way to cut and peel the lovely beasts without losing a finger to the process.
Indeed, while some — especially in the early season — boast a thin rind easily peeled with a vegetable peeler, or even one that’s edible (cue love letter to the Hokkaido squash, potimarron in French), most secure their tender flesh underneath a tough outer shell that challenges even the sharpest chef’s knife. The task is made trickier by the shape of the squash, which is rarely stable enough that you can hack at it safely. And even if you do manage to cut your way through, working your paring knife along the grooves and ridges of the rind can be awkward and time-consuming.
Ever wondered how to cut and peel hard winter squash?
Fortunately, there is an easier way, which I’ve recently adopted: it consists in par-cooking the squash for a very short time in a pan of simmering water to just soften the rind: after this treatment, only the very outside of the squash is cooked, which means you remain free to do with it as you please, whether you want to boil it, roast it, braise it, or stir-fry it (take your pick).
Here’s how to proceed:
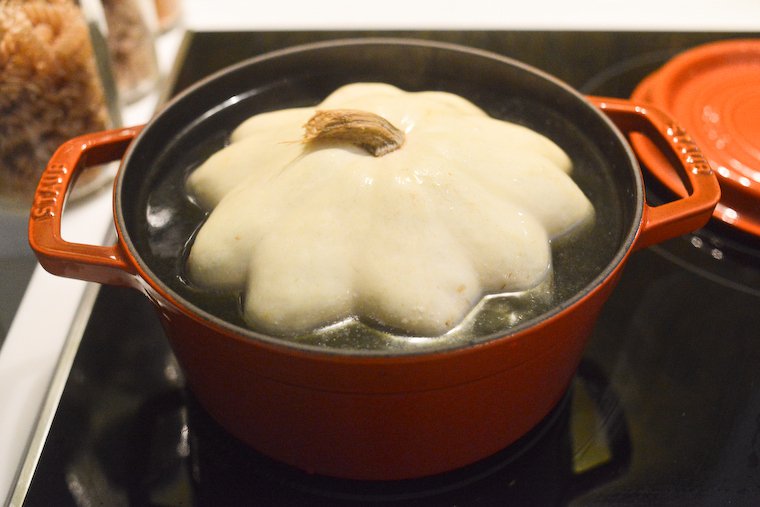
Pattypan squash taking a bath in my 4-quart Staub cocotte.
1- Scrub the squash clean, and find a cooking vessel large enough to accommodate. The squash doesn’t need to be fully immersed (see step 3 1/2 below) but it needs to be a reasonable fit.
2- With the squash sitting inside the pot (just so you know how much water to use), fill it with fresh water. Remove the squash and bring the water to a simmer.
3- Lower the squash carefully into the water, and allow to simmer for 2 to 3 minutes.
3 1/2- If the squash wasn’t entirely immersed during step 3, flip it carefully in the water so the top part is now immersed. Allow to simmer for 2 to 3 more minutes.
4- Lift the squash carefully from the pot and drain; I use two large spoons as hand extensions of sorts to lift out the squash. Obviously you want to have a secure hold on it: if you were to drop the squash back in, you may burn yourself with the splashing water. I prefer this to draining the water out as I want to save the water (see step 6).
5- You will find the squash can now be effortlessly sliced or cubed, and the rind easily peeled, using a simple vegetable peeler and without wasting the flesh that’s right underneath the skin (where a lot of the good stuff lies).
6- Reuse the water to soften the rind on any other squashes you may have on hand (I generally do several in a row, freezing the excess as needed), and/or use to make soup or stock, cook other vegetables, grains and legumes, or at the very least, once cooled, water your plants.
Note: If you prefer, the par-cooking can also be done in a steamer for 5 minutes or so.
Join the conversation!
Have you ever been intimidated by hard-rind winter squash? Have you found or developed other techniques to deal with it while keeping all your limbs attached?

Pattypan squash, easily sliced in two after simmering (using my beloved chef’s knife).