The natural consequence of buying fresh vegetables to eat is that you may end up, at some point, with not-so-fresh vegetables to eat.
However diligent your meal planning, it is difficult to nail it perfectly. And if you leave room for improvisation and sudden crushes in your shopping habits, or subscribe to a weekly produce basket, the end of the week is likely to find you with soft carrots and wilting greens from time to time.
The sturdier produce will keep fine from one week to the next; if you own The French Market Cookbook you’ll find a guide to produce that keeps and produce that doesn’t in the intro section. But for the more fragile vegetables, and if you like to start the week on a clean slate or need to make room for your overenthusiastic farmers market run (ahem), what’s the solution? If you answered “garbage can”, come see me at my desk before recess. The correct answer is soup.
Soup is an extraordinary catch-all for vegetable odds and ends, and it is the easiest and most rewarding way to transform scraps no one really wants to deal with into something warm and inviting. Although it’s hard to truly botch a soup, my years of soup-making experience have taught me that there are a few rules that make the ride smoother and the result tastier.
Choosing your vegetables
Naturally, I am talking about using vegetables that are past their golden days, yes, but haven’t reached the stage of putrefaction: wilted and limp is fine, moldy and mushy-brown is not. And when in doubt, toss it out.
You can, in theory, throw into the soup pot whatever needs using up, but it pays to select your vegetables with an eye towards variety and balance. I enjoy my clean-out-the-fridge soups the most when I’ve used a mix of colors (green, orange, tan, white…) and flavor families (sweet, earthy, verdant, onion-y, aniseed-y…), and included vegetables that grow both above- and below-ground. Some fruits, such as apples and pears, fare well in there too (bananas not so much).
To achieve that, you can of course complement the selection with a few freshly bought vegetables and/or freezer-stashed ones. In fact, if you find yourself with clean-out-the-fridge soup material in too small a quantity to actually make clean-out-the-fridge soup, or if you’re simply short on time, you should clean and chop those vegetables as if you were about to cook the soup, and stash them in the freezer instead.
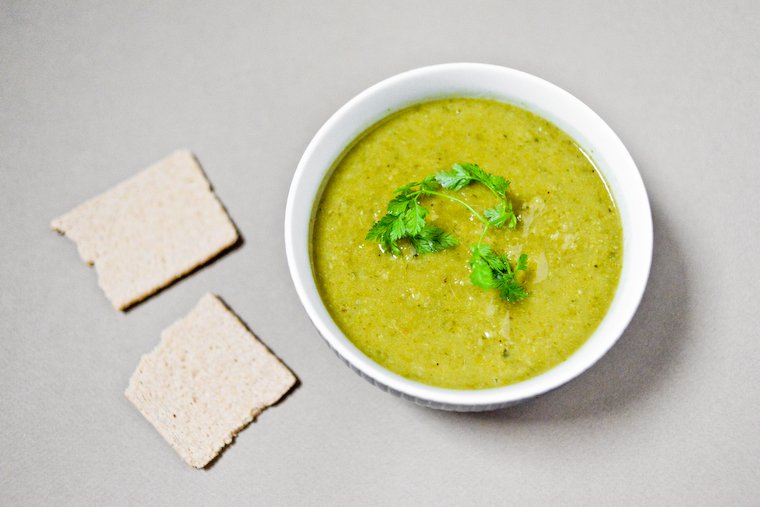
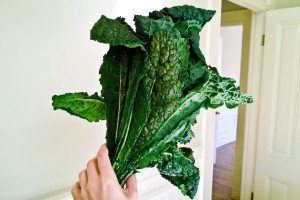
To give you an example, my most recent edition this past Monday contained a few stalks of (wilting) Swiss chard, a quarter of a kabocha squash (the rest had been roasted), a small bunch of thin (and limp) carrots, the outer leaves from a head of cauliflower (stashed in the freezer), the stalks from a bunch of curly kale (leftover from making cheesy kale chips I’ll soon tell you about), a few bulbs of baby fennel (freshly purchased), a good red onion, a couple of potatoes, the end of a bunch of chives, parsley stems, and some tarragon.
The vegetables should be cleaned thoroughly — no need to dry them as they’ll just be wet again in a moment — and cut into even-sized chunks. Medium pieces — say, 2-cm (1/2-inch) cubes or slices — save chopping time and work fine if you plan to purée the soup. If you prefer a chunky, non-puréed soup, aim for a finer dice.
On texture
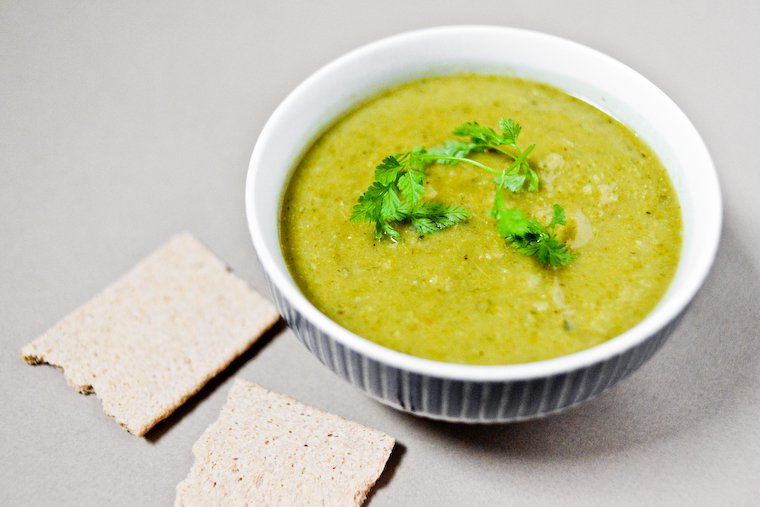
Such mixed vegetable soups benefit from a bit of starch to make them both velvety — the French don’t call them veloutés for nothing — and more satisfying. For this purpose you can throw in some potatoes (regular or sweet; I use organic and keep the peel on), some pink lentils or split peas, or the stale end of a loaf of good bread.
If you prefer to avoid starches in your diet — hello, paleo readers! — you can skip this and use nut butter or coconut milk (see below) to achieve creaminess.
Conversely, use highly fibrous ingredients with caution: I once thought it a good idea to include the tall and very bushy fronds from a bunch of fennel, but my immersion blender could never quite vanquish them and my soup, while delicious, was a bit hairy for my taste.
Flavor boosters
Along with the vegetables you can add some garlic and any kind of spice (cumin, cloves, fennel seeds, coriander, fenugreek, peppercorns, chili pepper, whole or ground) or herb you like. Dried herbs (thyme, rosemary, oregano) can be added early on, while fresh herbs (parsley, chives, cilantro, tarragon, chervil, basil) should be added at the last minute, just as you process the soup.
The liquid you use in the soup is of importance, too. In a pinch, water will do, but if you have homemade vegetable or chicken stock on hand, this would be a fine time to use it. I no longer bother with bouillon cubes or powder as I don’t think they add much to the conversation, but the choice is yours.
My secret trick is to ask for extra cooking juice when we buy a chicken from the rôtisserie, if I can remember to bring along a clean jam jar for that. I keep it in the fridge and use it for my soups: the layer of fat that collects at the top is used to start the cooking, and the rest of the congealed, flavorsome juice is like concentrated chicken stock.
You can also go for an Asian flavor profile and add a can of coconut milk. You can then complement that with a thumb-sized piece of fresh, grated ginger and/or a stalk of lemongrass (which can be stocked in the freezer and minced without thawing), and maybe some cilantro or mint as a garnish.
Cooking the soup
If you abide by the classic soup-making method, you’re supposed to sweat your aromatics in some fat first, and add vegetables in order of their optimal cooking time. But my goal with the clean-out-the-fridge soup is to streamline the process and to make it as hassle-free as possible, so I don’t worry too much.
When all the vegetables are clean, I start heating some fat (olive oil, or rendered animal fat if I have some saved) in my cast-iron cocotte. I add the onions and spices first with a bit of salt, to soften and toast while I chop the rest of the vegetables. These I add in as I go, stirring every once in a while. I do this over moderate heat so nothing burns if I forget to stir.
I then add whatever cooking liquid I’ve chosen to use, and because that’s usually not enough, top it up with fresh water to just cover the vegetables. I add salt (about 1/2 teaspoon per liter/quart of liquid, less if the stock is already seasoned), I increase the heat, cover, and bring to a simmer. After a few minutes, there’s usually some foam gathering at the surface, which I skim off for good luck.
I let this simmer 15 to 20 minutes, enough for the longest-cooking vegetables (such as carrots and potatoes) to become tender, easily pierced with the tip of a knife. I find the other, shorter-cooking vegetables don’t suffer significantly from the added cooking time, and my life is made immeasurably easier.
Finishing and serving the soup
I let the soup cool just a bit, fish out any woody herb stems, then whip out my immersion blender and purée the soup thoroughly. It’s safest to wear an apron and long sleeves for this, but if you keep the head of the blender submerged at all times, the splatter is minimal to nonexistent.
Although I haven’t owned one in years, I understand a regular blender would work even better. Food processors are less ideal as they are not watertight and you need to work in small batches, which goes contrary to the hassle-free premise of this soup.
This is the time to adjust the seasoning with salt, and add a touch of acidity, too, in the form of lemon juice, your favorite vinegar, or maybe a spoonful of mustard. If you find your soup tastes a little dull, adjusting both those dials (salt and acidity) should do the trick.
You can serve the soup as is — no need to present it as a clean-out-the-fridge soup if you doubt your audience will be enchanted by the thought — or spruce it up with your choice of:
- a scatter of (fresh and perky) chopped herbs,
- a drizzle of oil,
- a spoonful of cream, pesto, gremolata, nut butter, or tahini sauce,
- some croutons (bonus points if they’re homemade to use up stale bread).
If you’re feeling extra fancy, you could finish the soup French onion soup-style: pour it in heatproof bowls, top the soup with a slice of bread brushed with a little white wine and sprinkled generously with grated cheese, and pop the bowls under the oven grill for a few minutes until bubbly.
If you’ve made more soup than you can (or want) to eat over the next 3 to 4 days, pour the cooled soup into freezer-friendly, labeled containers (liter- or quart-sized is a good format), chill for a few hours in the fridge, then transfer to the freezer. (It’s ok to do that even if some of the ingredients you’ve used in the soup were previously frozen, as you’ve now re-cooked them.)
Join the conversation!
Do you make clean-out-the-fridge soup yourself? Any tips and tricks to add to the list? What other strategies to you adopt for produce on the decline?


